
Introduction
The Panel Due is a colour touch screen controller for the Duet and other 3dprinting electronics that support it. This guide covers unboxing, connecting. In case of issues with the updating the firmware through DuetWebControl this is an alternative method.
-
-
Your Duet comes with the following items:
-
PanelDue
-
Connector kit
-
Ribbon cable
-
4-wire interface cable
-
Erase button
-
Reset button
-
-
-
Connect the Duet to your PC with the USB cable provided.
-
Do not connect other power supplies at this stage.
-
-
-
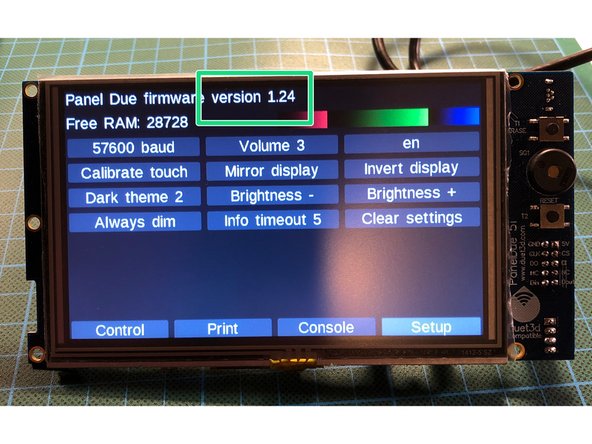
With the PanelDue connected to the Duet, and powered up, click on "Setup" on the display. Current firmware version is at the top of the 'Setup' screen.
-
Once you know the firmware version your PanelDue is using, check for the latest version of the firmware in our repository CaribouDuet Firmware
-
-
-
Press and hold the "erase" button for 1-2 seconds.
-
Press the "reset" button
-
-
-
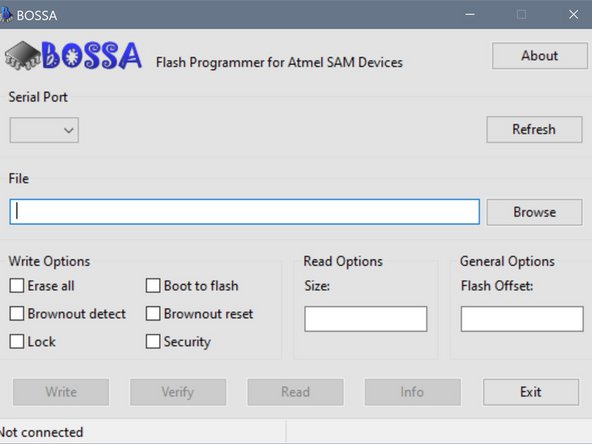
The easiest way to update the firmware is using the Bossa application.
-
Download Bossa from Github archive
-
Install the software with default settings
-
-
-
Open BOSSA, and configure the correct COM port.
-
If unsure of the COM port number, press Windows Key + R on your keyboard and type devmgmt.msc
-
Your Duet will be listed under Ports (COM & LPT) as USB Serial Device (COM#) or similar. Use COM# as the com port in YAT.
-
-
-
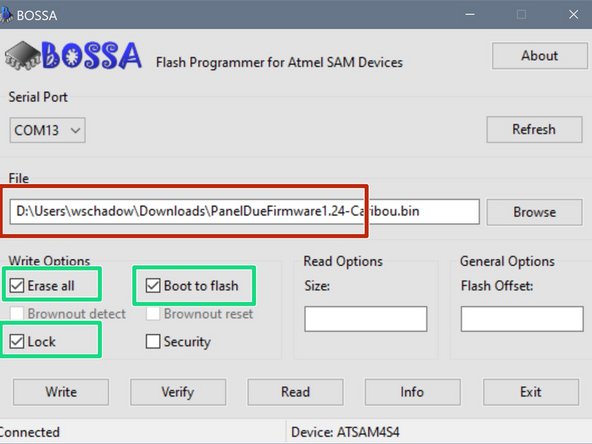
Browse for the correct firmware you have downloaded in a previous step
-
Make sure to mark the selected fields!
-
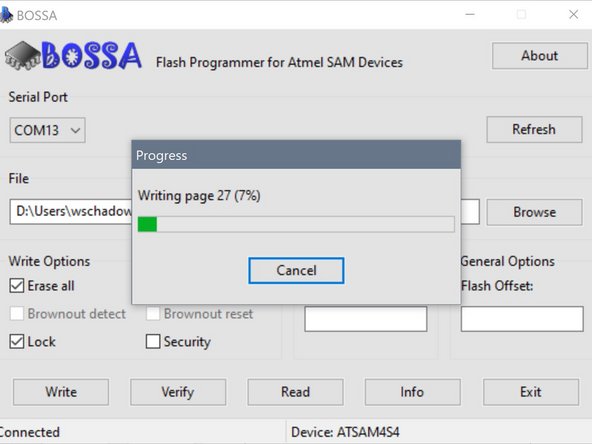
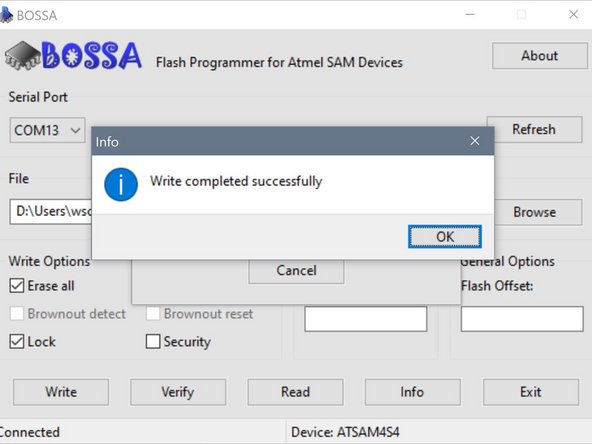
Press "write" to flash the firmware
-
-
-
Press the "reset" button once
-
The Panel should start-up with the splash-screen
-
After 3-4 seconds it will display the main menu.
-


Cancel: I did not complete this guide.
2 other people completed this guide.
