Introduction
Klipper has a so-called. „ Pressure Advance “ function. With good settings, blobs and oozing can be reduced. This is particularly evident on the edges of the print objects. The value must be determined separately for each filament.
-
-
we need a self-printed test cube, download the stl file from here
-
a digital caliper
-
-
-
no infill
-
Layer height 75% of the diameter of the nozzle. With a 0.4 nozzle, 0.3mm
-
We set the speed everywhere to 100mm / s, except for the setting for the first layer
-
the "dynamic acceleration control" (expert mode with Prusaslicer but also e.g. available with Cura) is deactivated
-
-
-
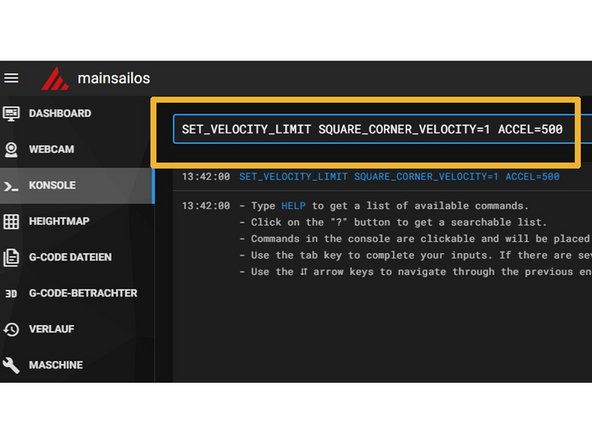
First we send the following command in the console: SET_VELOCITY_LIMIT SQUARE_CORNER_VELOCITY = 1 ACCEL = 500
-
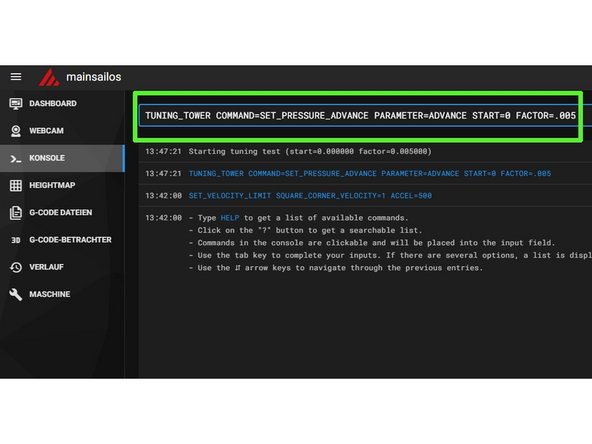
Then we send this line: TUNING_TOWER COMMAND = SET_PRESSURE_ADVANCE PARAMETER = ADVANCE START = 0 FACTOR = .005
-
If you are using a Bowden setup, enter this command: TUNING_TOWER COMMAND = SET_PRESSURE_ADVANCE PARAMETER = ADVANCE START = 0 FACTOR = .020
-
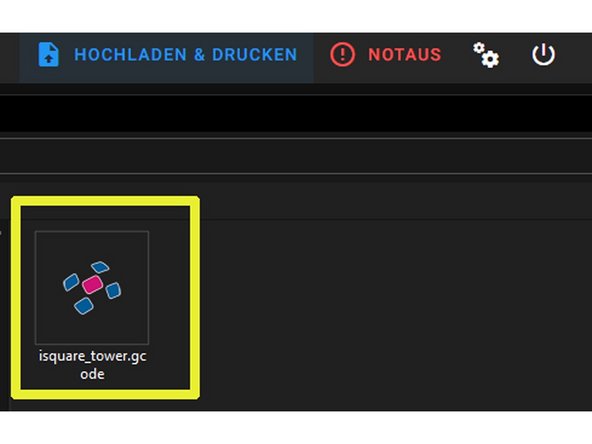
We can now upload our GCode. Layer for Layer becomes the value for Pressure Advance now increased during printing.
-
-
-
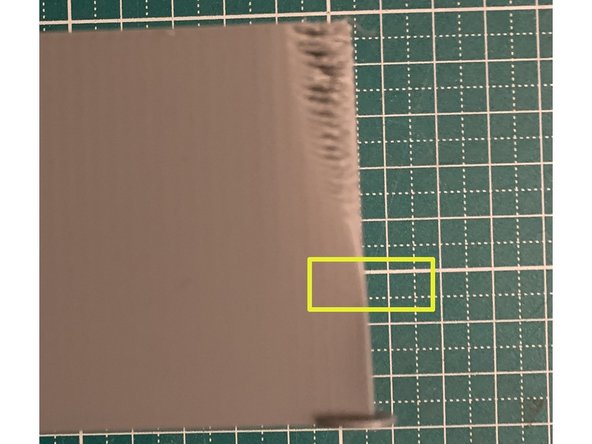
We look at the edges of our test cube. At the lower end they are too round, perforations are already shown above. We are looking for the area where the edge was printed as "sharp" as possible.
-
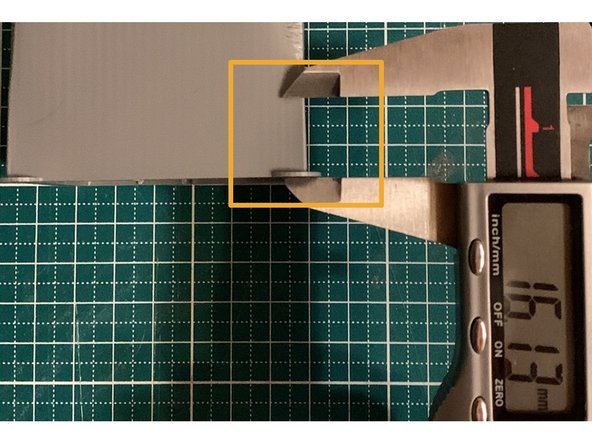
We use the caliper to measure the distance from the 1st layer to this area and note the value.
-
-
-
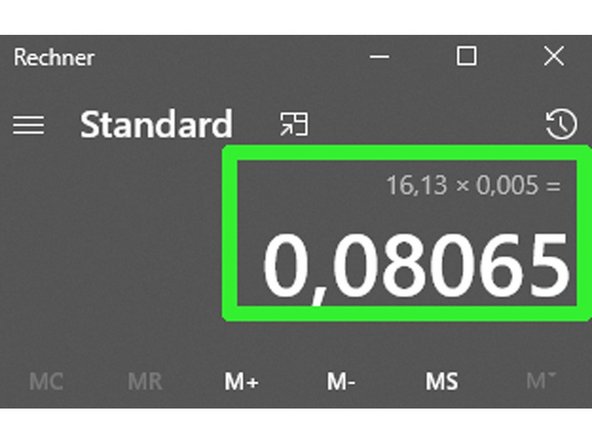
We multiply the measured value (here 16.13mm) by the factor used (here 0.005). So our PA value for this filament would be 0.08. The values are usually between 0.050 and 1,000.
-
In a Bowden setup, the factor is multiplied by 0.02.
-
-
-
We open under "machine" printer.cfg enter the value there under [extruder] in line 213 and save.
-


![We open under "machine" printer.cfg enter the value there under [extruder] in line 213 and save.](https://d3t0tbmlie281e.cloudfront.net/igi/caribou3d/XjdZQAqIoKA2dGZV.medium)