-
-
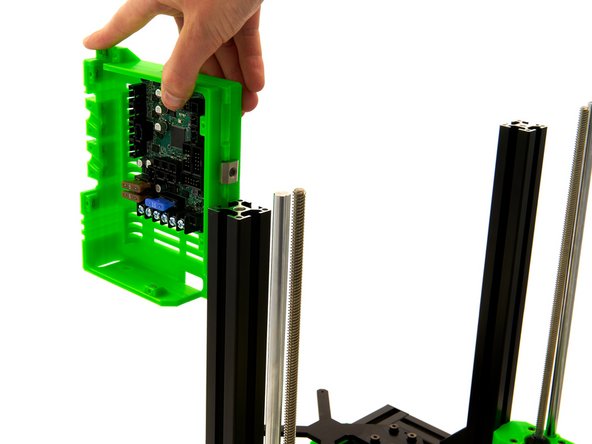
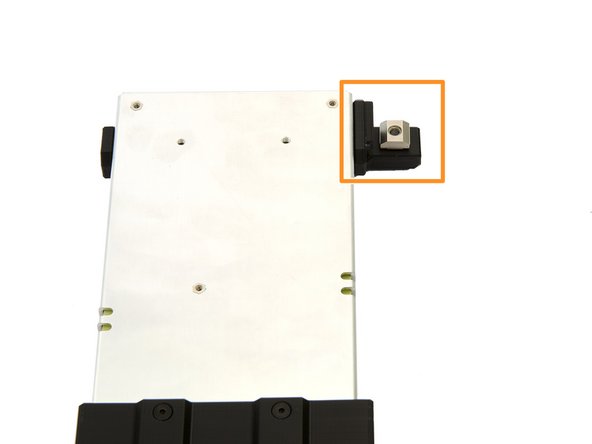
A M6x12mm Hexagonal Socket Head Cap Screw is inserted through the Einsy Box and loosely fastened from the outside with a T-Nut.
-
Attach the Einsy Box to the left side of the printer, using the T-Nut that was just attached. The T-Nut is pushed into the rear slot of the left z-extrusion.
-
-
-
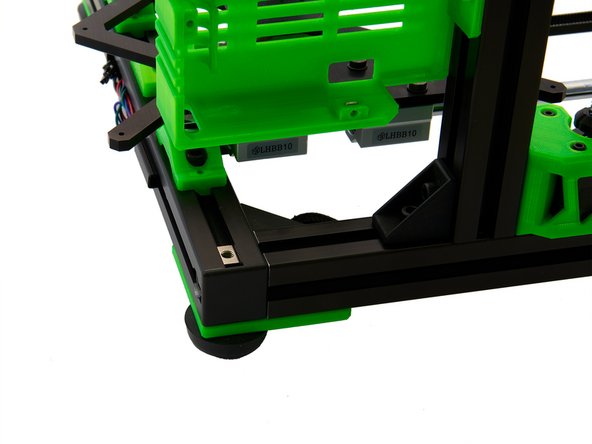
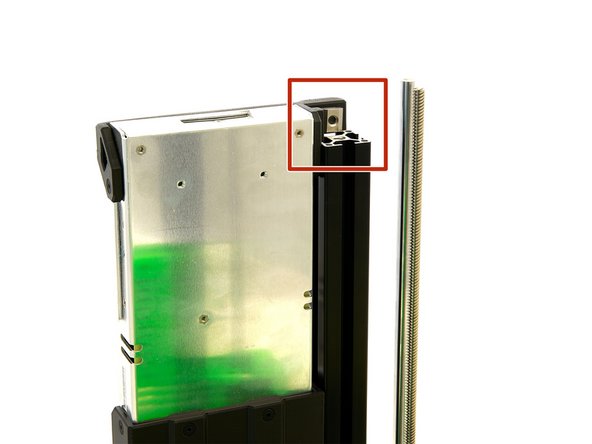
Align the remaining T-Nut inside the rear x-extrusion with the hole on the bottom of the Einsy Box. Into this hole, you place another M6x12mm Hexagon Socket Head Cap Screw and tighten it.
-
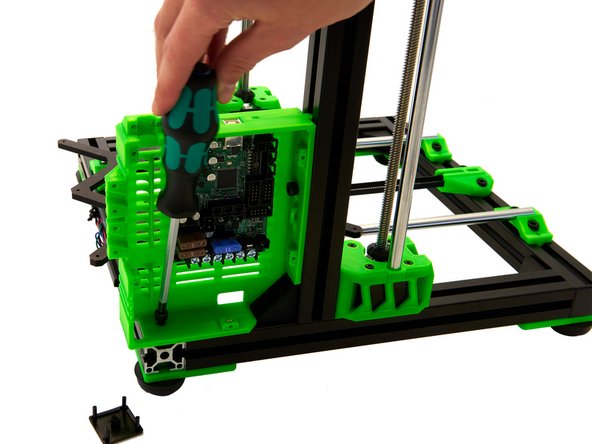
To do this, it may be helpful to remove the end cap. Remember to put the end cap back into place after tightening the screws.
-
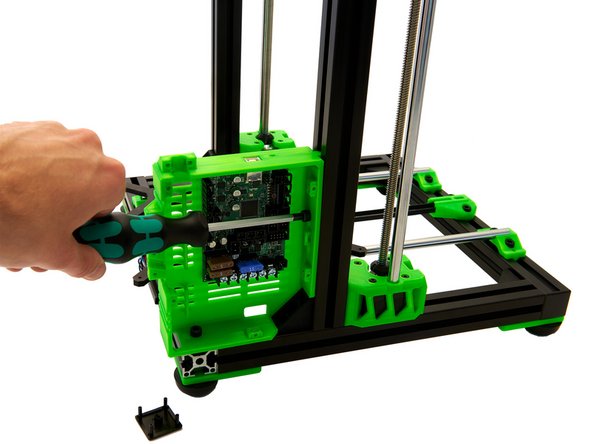
When the Einsy Box rests level on the frame, the M6x12mm Hexagonal Socket Head Cap Screw can be tightened on the z-extrusion.
-
-
-
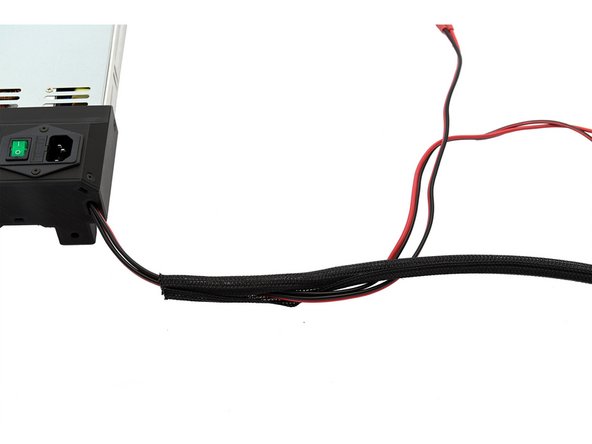
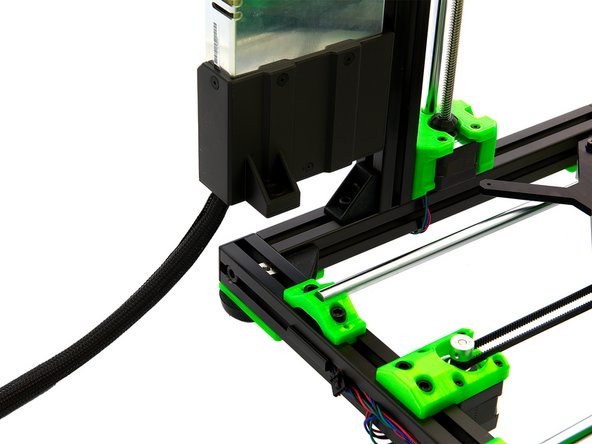
First, shorten the Techflex tube to a length of 42cm. Both ends of the tube must ne briefly heated with a lighter.
-
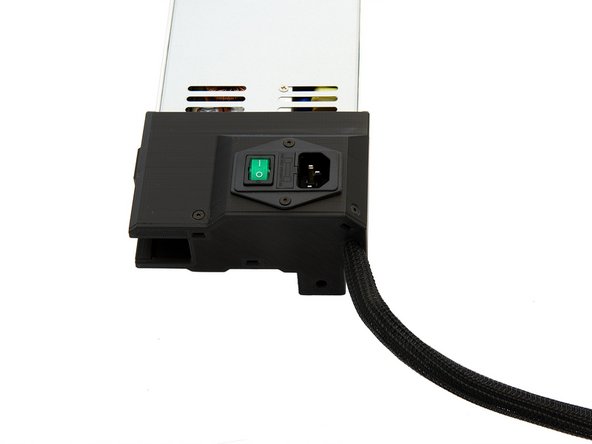
Now push the PSU cables through the Techflex tube. Push the tube about 1cm into the power supply.
-
-
-
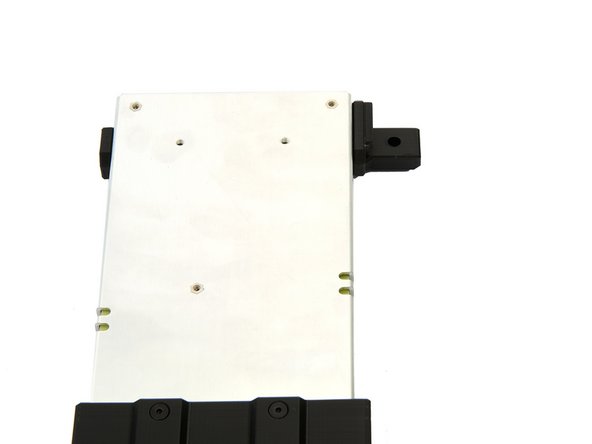
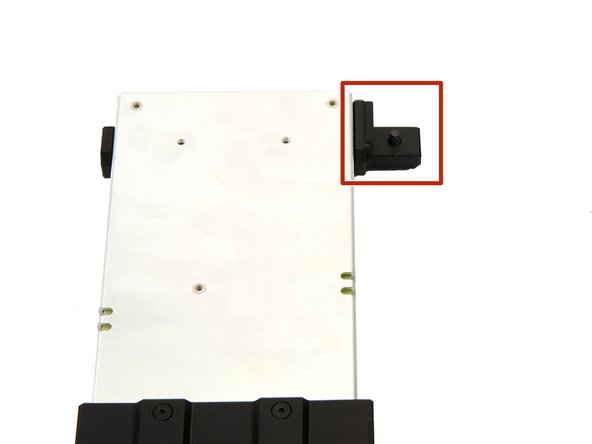
A M6x12mm cylinder head screw is inserted through the hole in the bracket.
-
From the outside, a T-nut is loosely attached.
-
-
-
The power supply unit is attached to the right side of the printer using the T-Nut that was just attached. The T-Nut is then pushed into the right slot of the right z-extrusion.
-
When the PSU is resting level on the frame, the M6x12mm Hexagonal Socket Head Cap Screw on the Meanwell Top Mount can be tightened.
-
Align the remaining T-Nut in the rear x-extrusion with the hole on the bottom of the power supply. Place an M6x12mm Hexagonal Socket Head Cap Screw into this hole. Then tighten the screw.
-
-
-
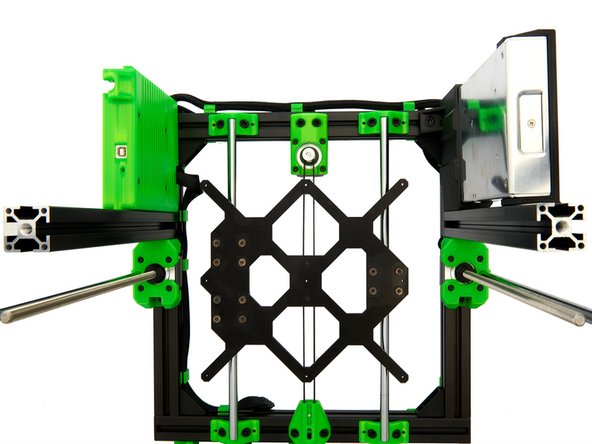
The Einsy Box and the PSU are now fully installed.
-
Continue with instructions 09. Assembly and Installation of the Display.
-