-
-
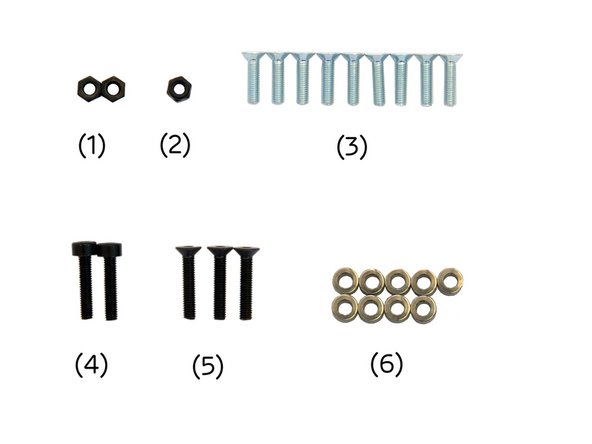
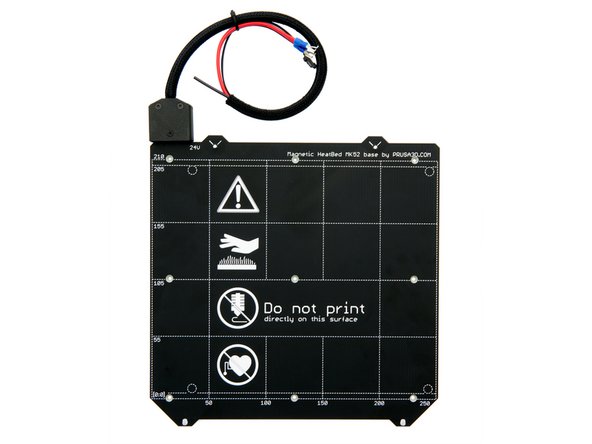
(1) MK52 Heatbed
-
(2) Heatbed Cover Bottom
-
(3) Heatbed Cover Top
-
(4) Cable Holder Angled
-
-
(6) 34cm Nylonfilament
-
-
-
Insert 2x M3 Nuts into the holes provided in the lower heatbed cover.
-
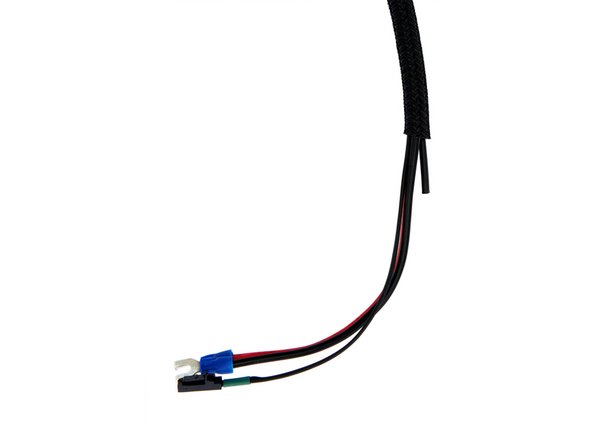
Shorten the Techflex tube to a length of 32cm. Briefly heat the two ends with a lighter.
-
Shorten the nylon filament to a length of 34cm and push it through the Techflex tube.
-
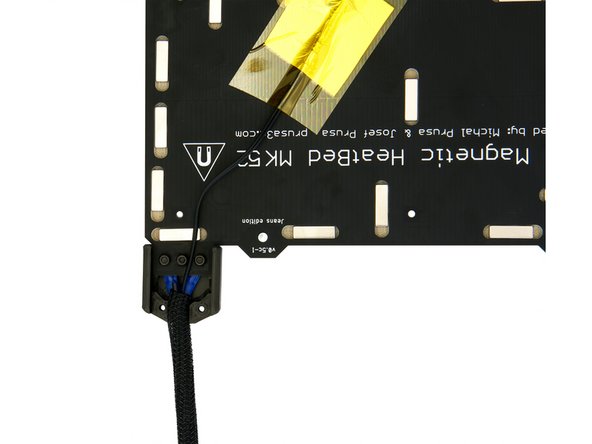
Now, push the heatbed cables and the heatbed thermistor cable through the Techflex tube.
-
-
-
Place the Heatbed Cover Top on the cables on the heatbed and fasten it with a M3x16mm Countersunk Screw (silver).
-
The screw is fastened from below with a M3 Self-Securing Nut.
-
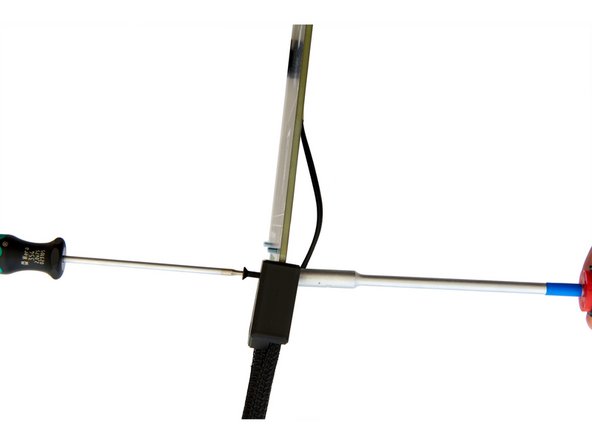
The installation of the M3 Self-Securing Nut can be made easier with the use of a socket wrench (5.5x125mm).
-
Make sure that about 1cm of the nylon filament sticks out at the end.
-
Slide the Techflex tube and the nylon filament under the cover.
-
-
-
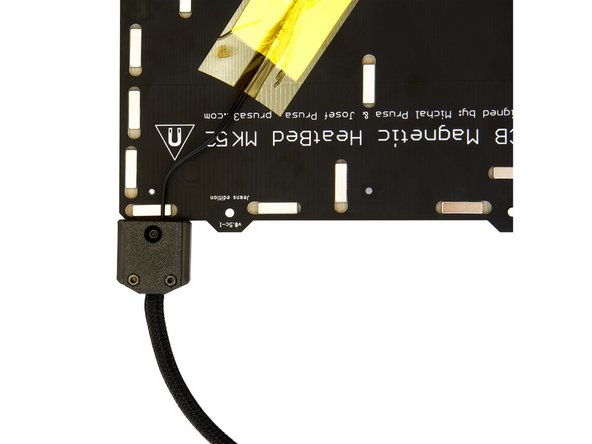
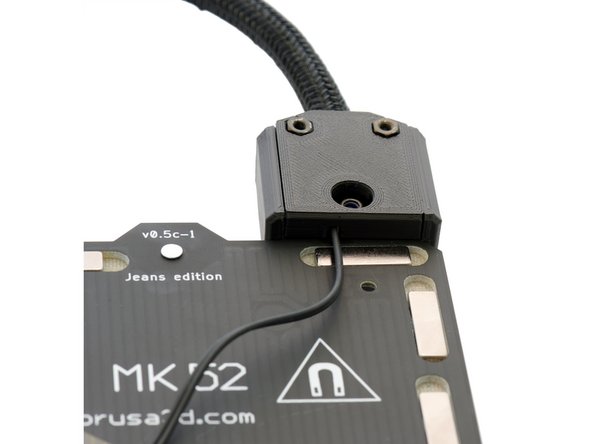
Place the Heatbed Cover Bottom onto the Heatbed Cover Top and ensure that the thermistor cable is routed through the slot in the Heatbed Cover Bottom.
-
Now fasten the Heatbed Cover Bottom with 2x M3x16mm Countersunk Screws (silver).
-
Be careful not to pinch the thermistor or the Techflex tube.
-
-
-
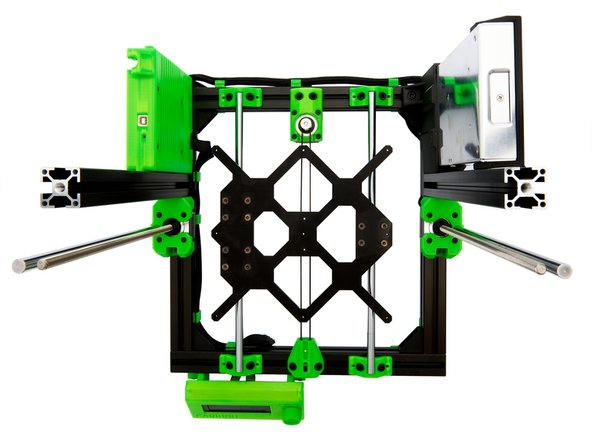
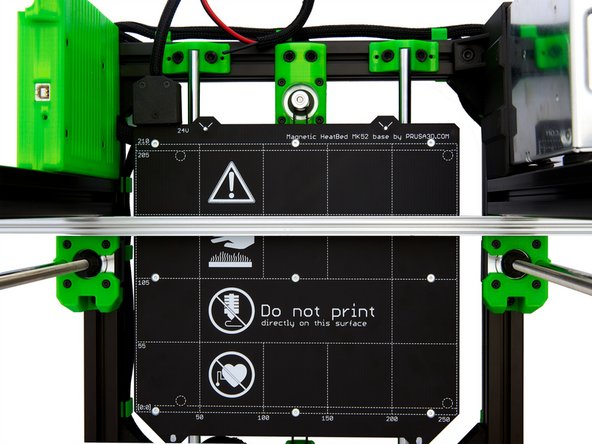
Pull the y-carriage to the front of the frame.
-
Place 9x Heatbed Spacers on the threaded holes in the y-carriage.
-
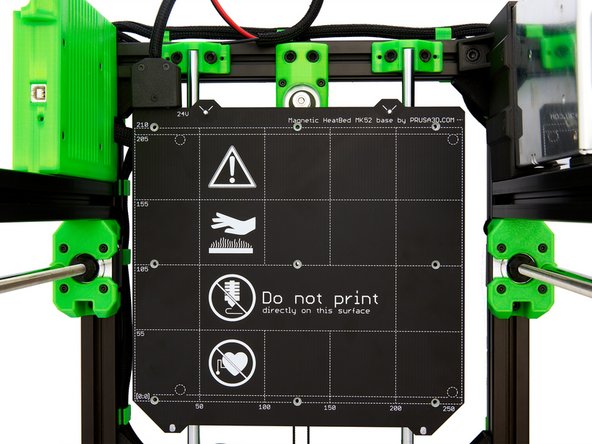
Carefully place the heatbed on the spacers. Then, check the positions of the spacers under the heatbed.
-
-
-
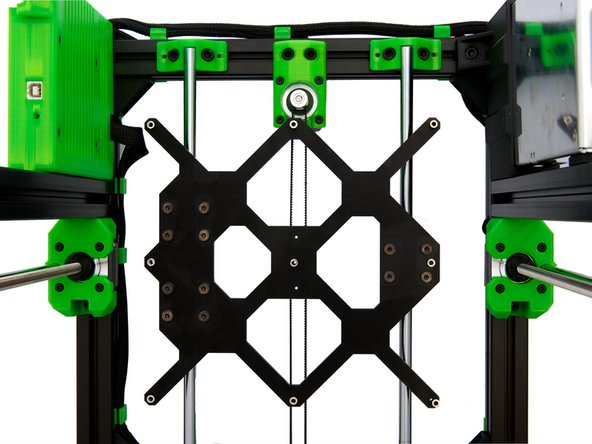
Using 9x M3x12mm Countersunk Screws (silver) loosely'' fasten the heatbed to the y-carriage.
-
-
-
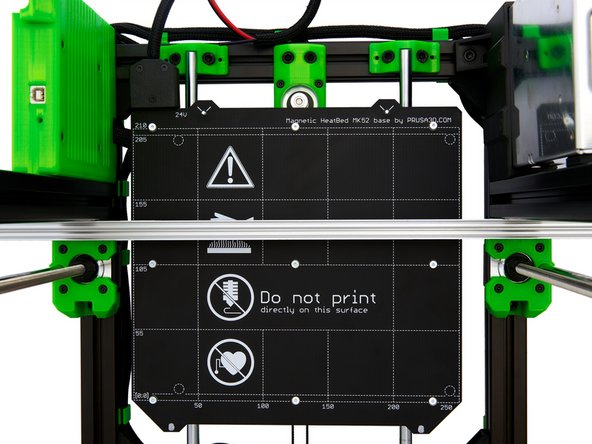
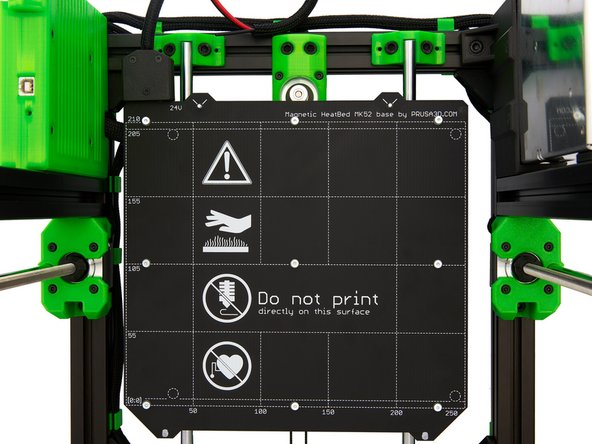
Now, place a long straight object, (e.g. a ruler or an aluminum extrusion) between the z-stepper motor and the z-profile on the heatbed (see Fig. 1).
-
Press the selected object against the front of the z-profile and use the lines on the heatbed to check whether it is aligned straight.
-
When the heatbed is aligned straight, tighten the 9x M3x12mm Countersunk Screws (silver).
-
If the heatbed can not be straightened even by turning it slightly, you must unscrew it again and realign the underlying y-carriage (see manuals 03.1. / 03.2.).
-
-
-
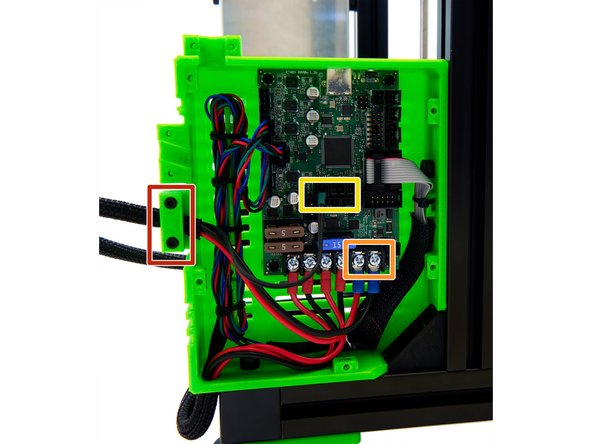
Place the end of the Techflex tube, with the heatbed cables and heatbed thermistor, into the lower cable guide on the left side of the Einsy Box.
-
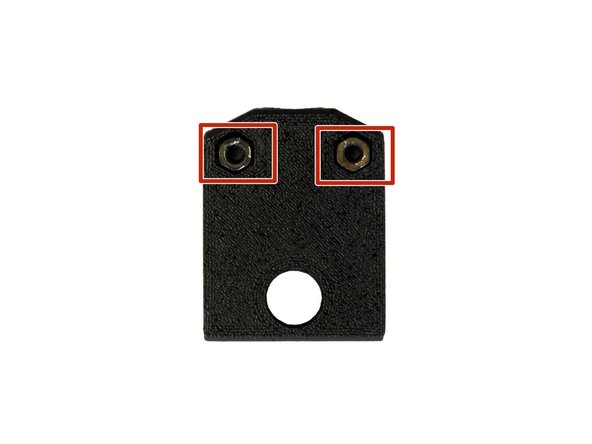
Fix the cable tube with an angled cable holder and 2x M3x14mm Hexagon Socket Head Cap Screws.
-
Attach the heatbed cables to the two right connections using the PH2 Phillips screwdriver (see Figure 2).
-
Plug the heatbed thermistor into the right one of the three connectors.
-
-
-
The heatbed is now fully installed.
-
Continue with instructions 12. Assembly of the x-Axis.
-