-
-
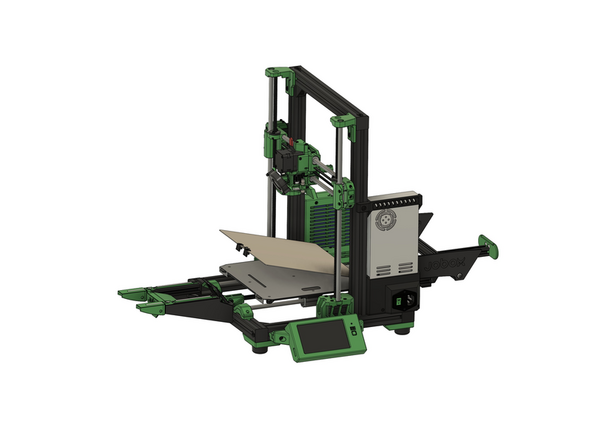
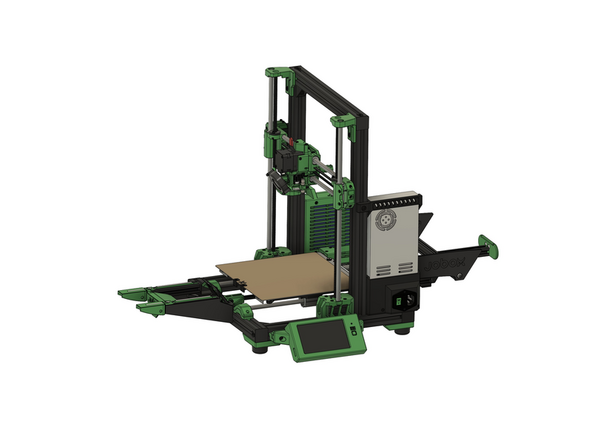
(1) Assembled Caribou
-
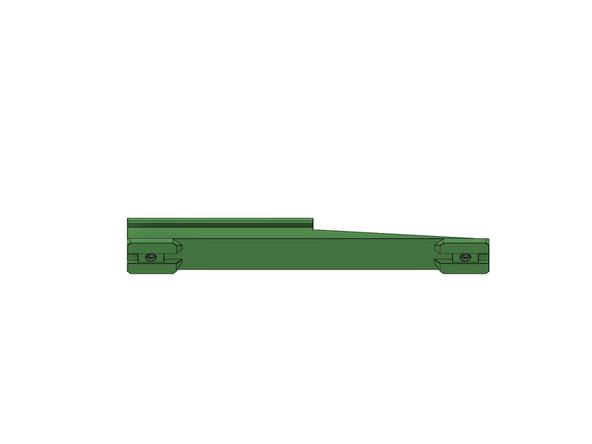
(2) Assembled ramp
-
(3) Assembled magazine holder
-
(4) Magazine plastic parts + screws
-
(5) Spring steel plate holder
-
(6) Spring steel sheets (max. 8)
-
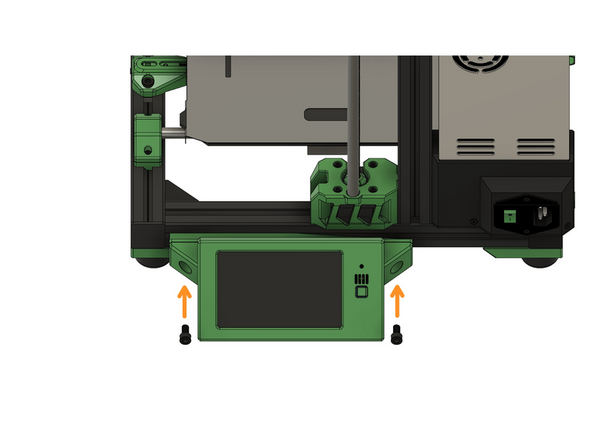
(7) Display bracket
-
-
-
(1) 2x knurled nuts
-
(2) 2x M6 hexagon nuts
-
(3) 2x M6x10mm pan-head screws
-
-
-
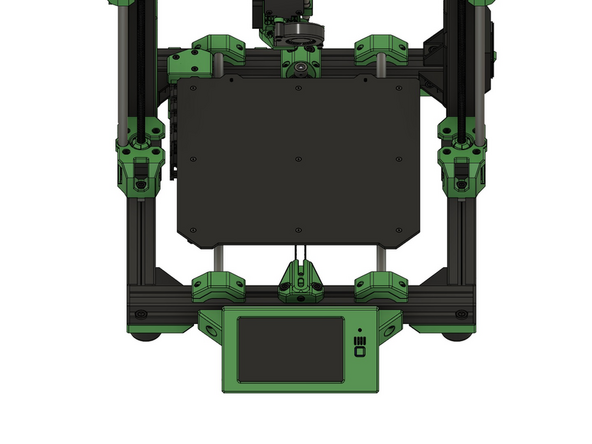
Remove the display cable from the display.
-
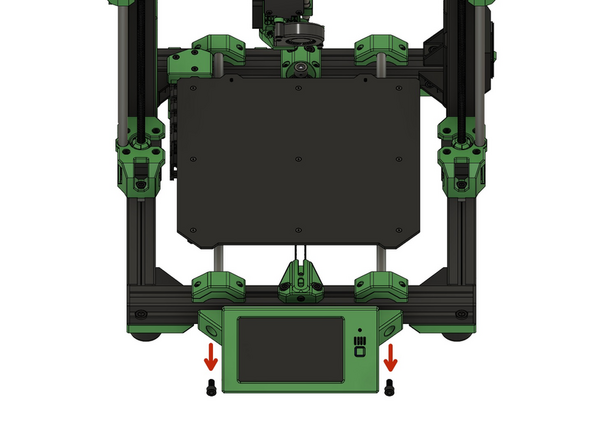
Loosen the 2x M6x12mm cylinder head screws from the display.
-
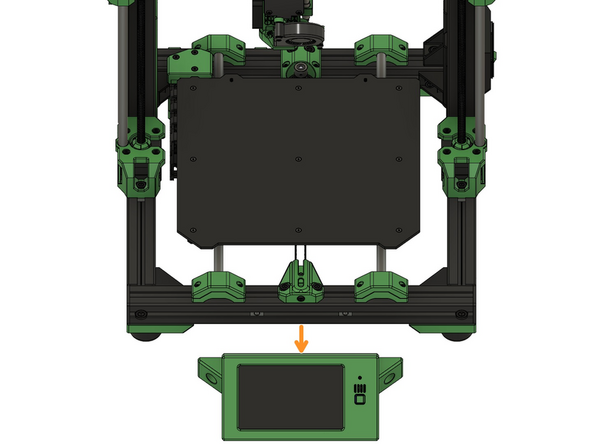
Then remove the display.
-
-
-
Hook the display bracket into the right slot of the right y-aluminum profile.
-
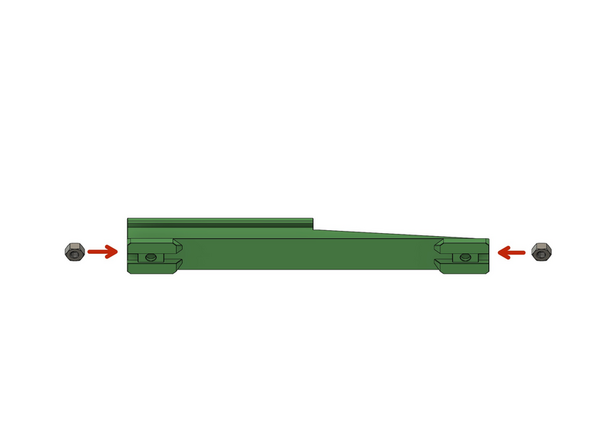
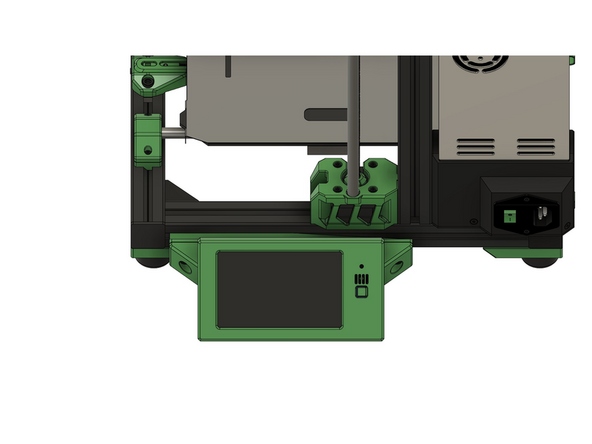
Secure the display to the display bracket with the 2x previously removed M6x12mm cylinder head screws.
-
Then plug the display cable back into its connector.
-
If the cable is too short, open the Duet Box and change the cable routing.
-
-
-
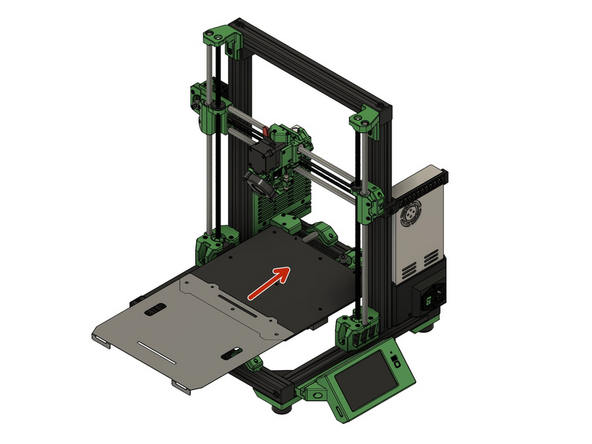
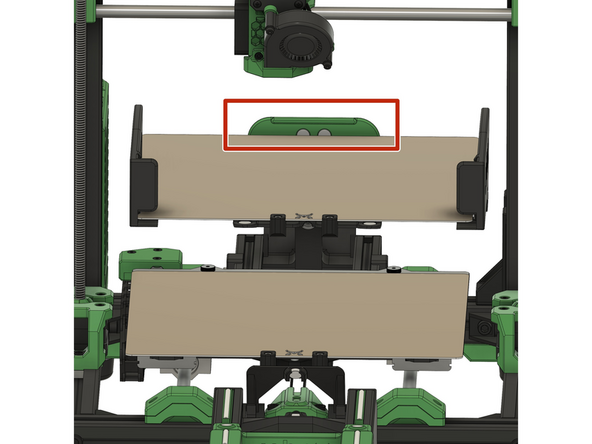
Slide the aluminum sheet holder onto the heating bed.
-
Angle the heating bed slightly at the very back to get over the drive-in screws.
-
Secure the aluminum sheet holder to the heating bed using 2x M3 knurled nuts.
-
-
-
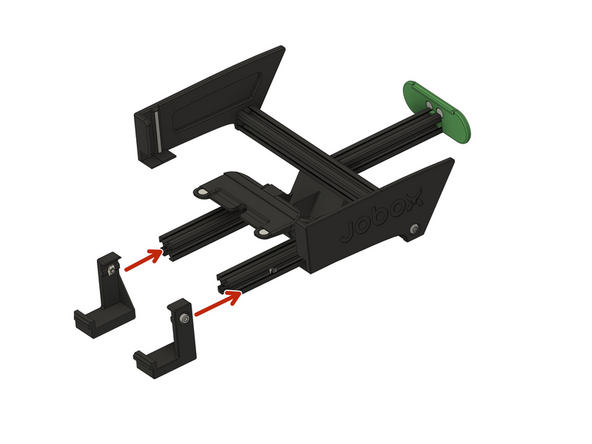
Slide the two plastic holders about 2cm onto the aluminum profiles of the magazine.
-
Tighten the two screws slightly so that the holders cannot fall down, but can still be moved with slight force.
-
-
-
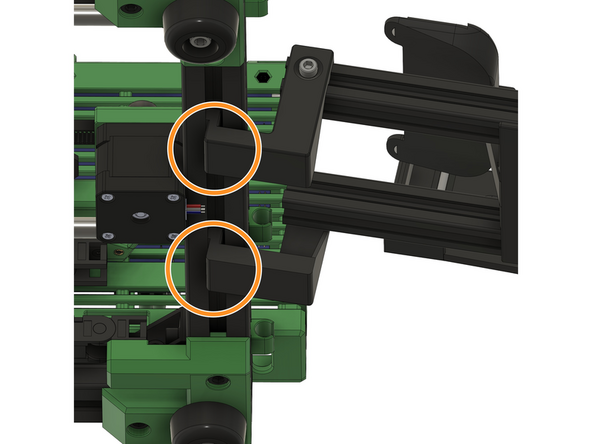
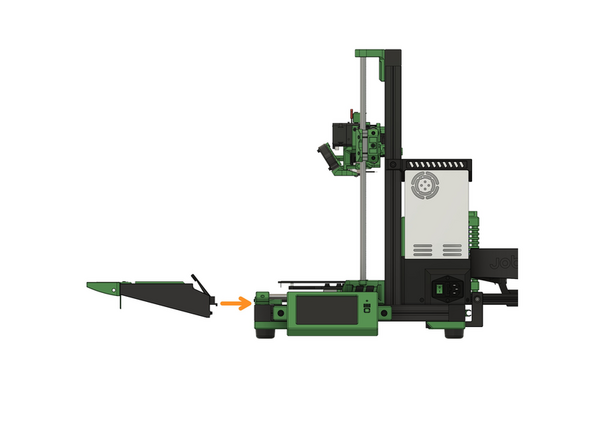
Hold the magazine tilted slightly downward and guide it to the rear aluminum profile.
-
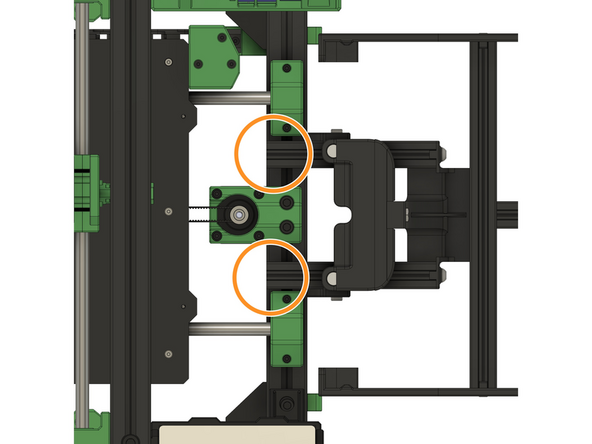
Now engage both plastic holders on the underside of the rear aluminum profile.
-
Only align the magazine horizontally again.
-
-
-
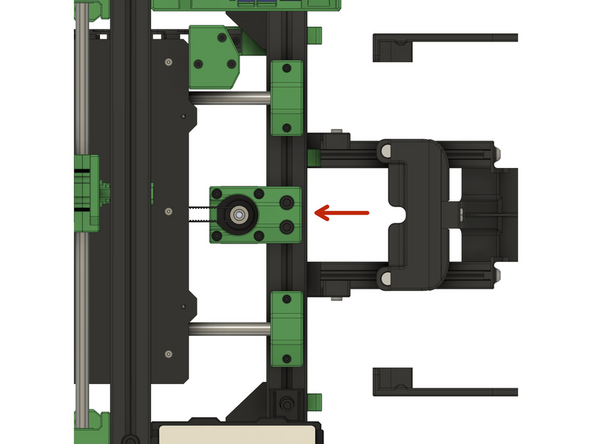
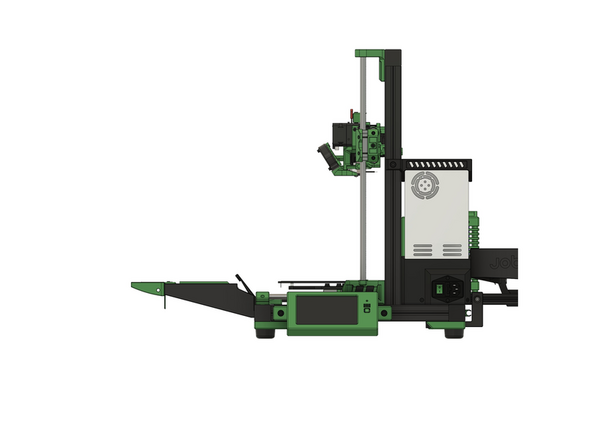
Now slide the magazine towards the printer.
-
The two aluminum profiles should be flush with the inside of the rear aluminum profile of the printer.
-
-
-
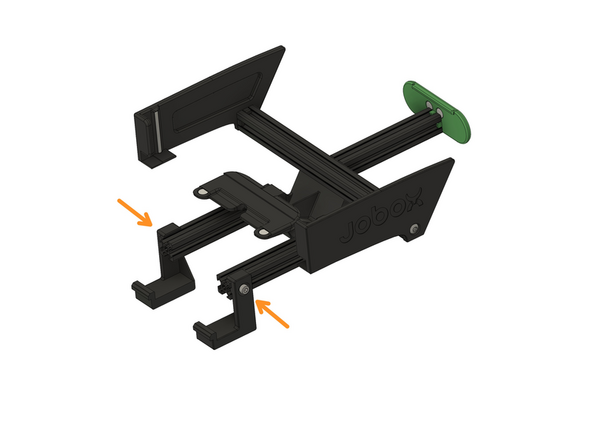
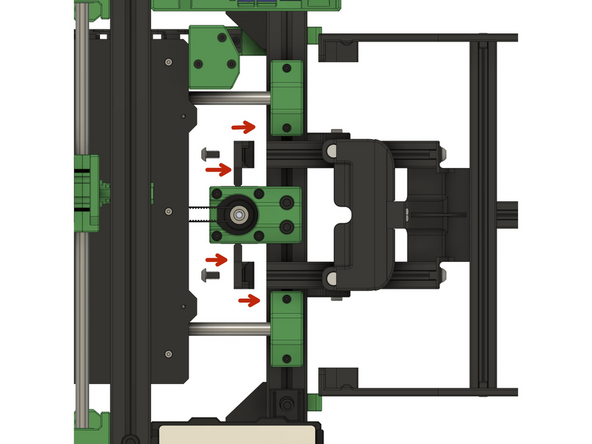
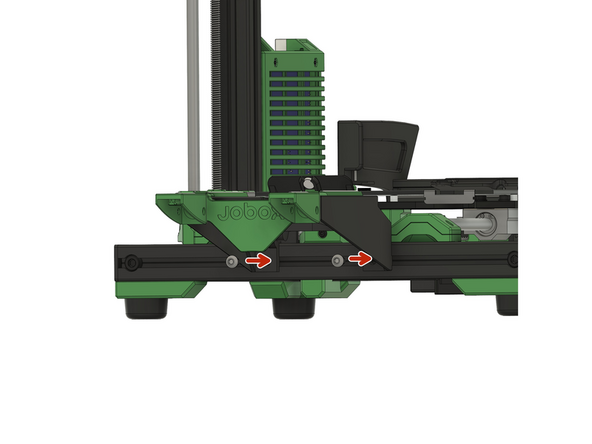
Screw on the two counter holders from the inside of the printer.
-
Now screw the two side screws to the magazine holders.
-
-
-
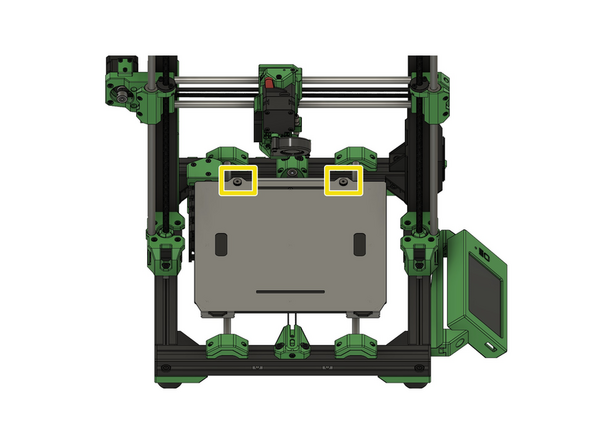
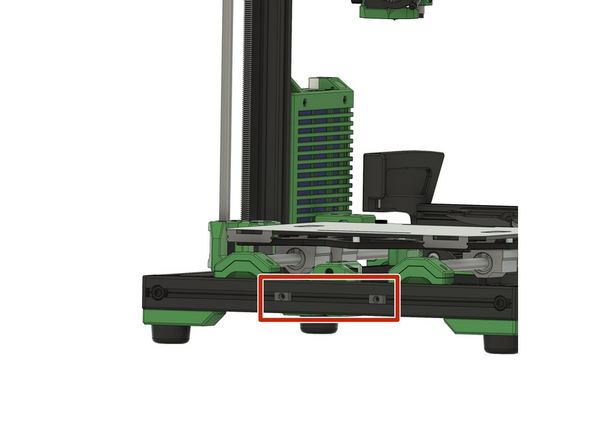
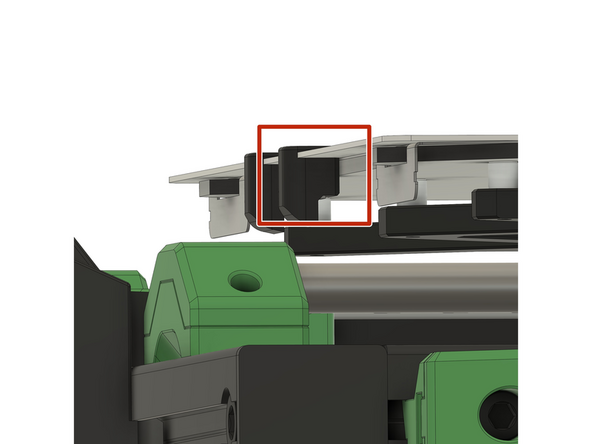
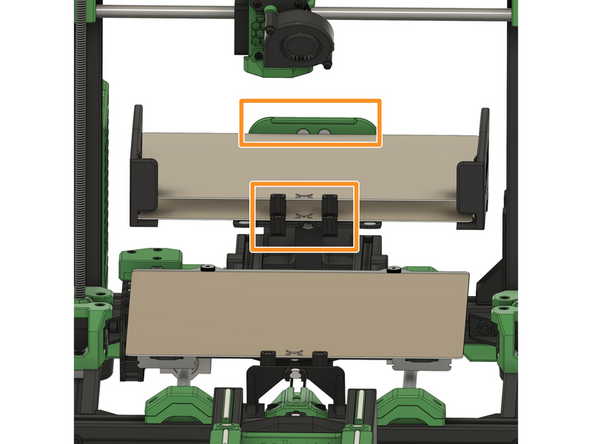
Make sure that the two sliding blocks in the front slot of the front x-aluminum profile are aligned as shown in the picture.
-
Place the ramp centrally on the front x-aluminum profile.
-
-
-
Hold the steel sheet at a slight angle and place it with the rear edge against the rear slot of the aluminum sheet.
-
Now lower the sheet metal on the front side.
-
Make sure that the hooks of the steel sheet are flush with the heating bed.
-
-
-
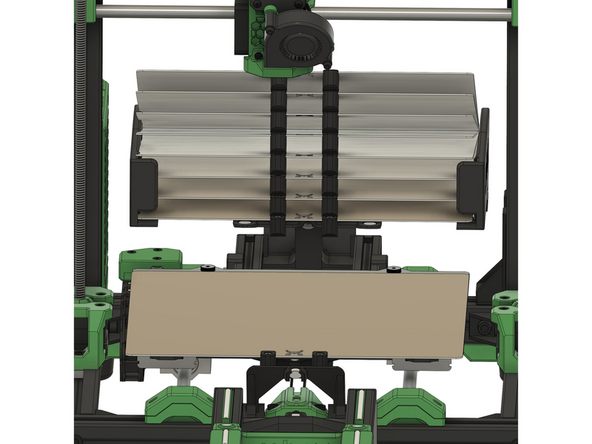
Place the steel sheets in the magazine one after the other.
-
Make sure that the steel sheets are centered and butt against the holder at the back.
-
The other steel sheets are now stacked, in which they must also rest against the rear of the holder. The hooks must be flush with the hooks of the underlying steel sheet.
-
Up to 8 steel sheets can be inserted into the magazine.
-