Difficulty
Easy
Steps
10
Time Required
- 02. Assembly of the y-Axis 10 steps

In Progress
This guide is currently being written. Reload periodically to see the latest changes.

Private
This guide will not appear in search results and can only be viewed by team members!
Quiz
0
-
-
(1) Stepper Motor
-
-
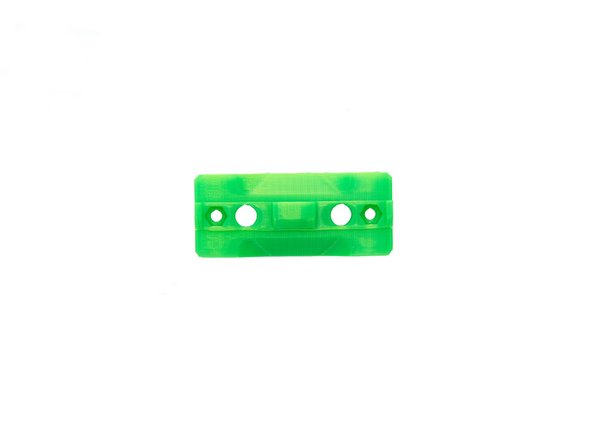
(3) 4x y-Rodholder Bottom
-
(4) y-Motorholder
-
(5) y-Belt Tensioner
-
-
-
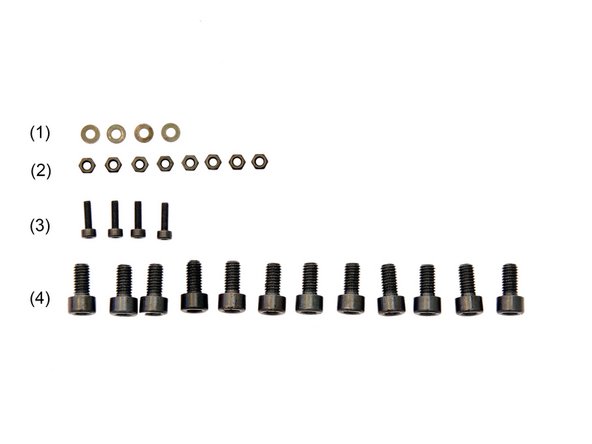
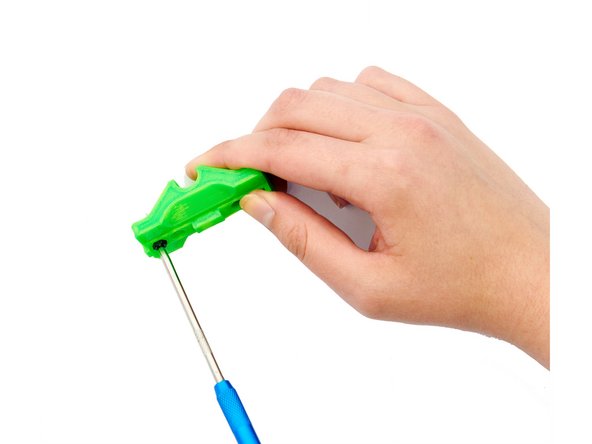
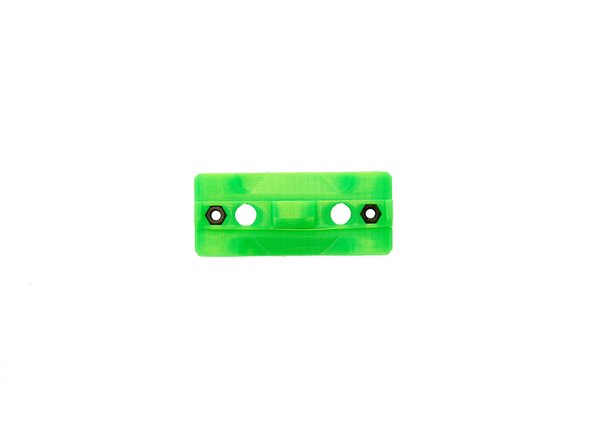
Using an Engineer Scriber, insert 2x M3 Self-Securing Nuts into each of the y-bar holders.
-
Alternatively, you can tighten the M3 Self-Securing Nuts with an M3 Screw from the other side.
-
-
-
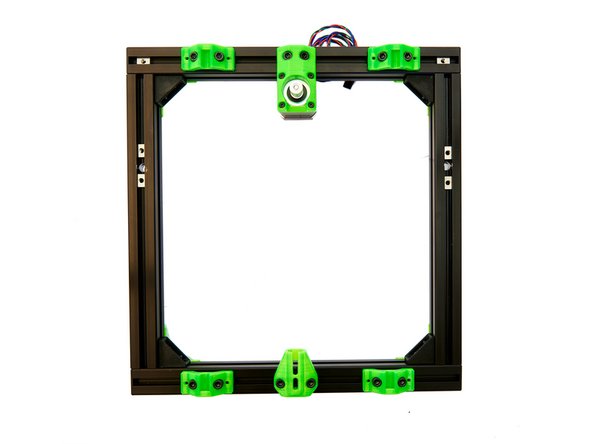
Align the T-Nuts and the frame as shown in figure 1.
-
Now, place the four y-rodholders on the frame (see figure 3), assigning each hole to a T-Nut.
-
For the x-axes, make sure that there are 2x T-Nuts between the two y-rodholders.
-
The y-rodholders are now screwed on using 8x M6x12mm Hexagon Socket Head Cap Screws.
-
These screws are initially only loosely tightened, as the y-rodholders need to remain movable.
-
-
-
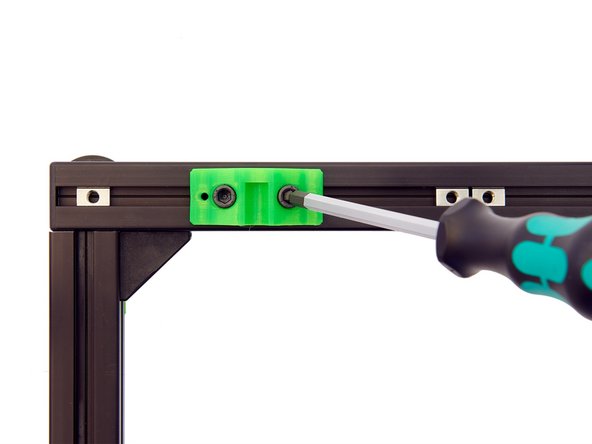
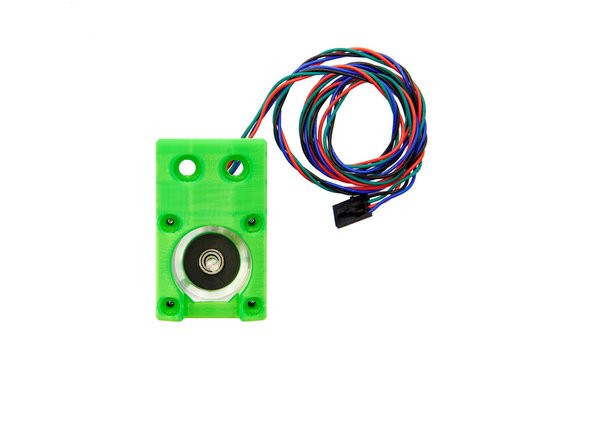
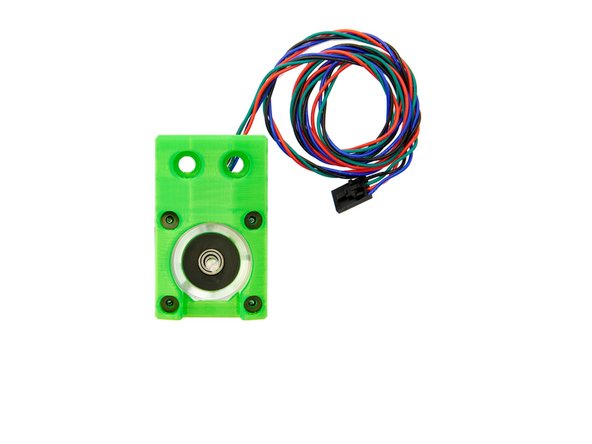
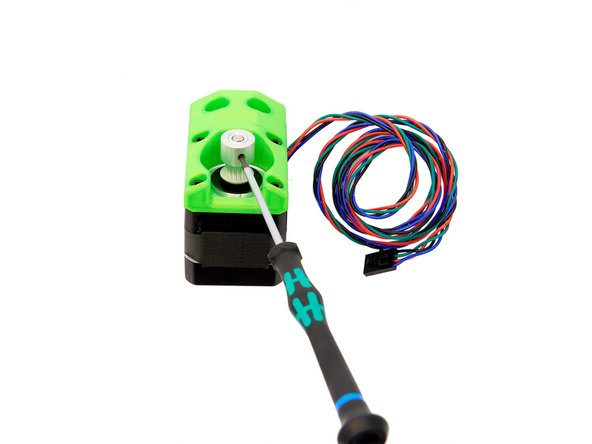
Place the y-motorholder on to the stepper motor.
-
Make sure the cables are leading to the holes for the M6 screws.
-
Then, attach the motor to the y-motorholder. Use the 4x M3 Washers and the 4x M3x10mm Hexagon Socket Head Cap Screws to fasten it.
-
-
-
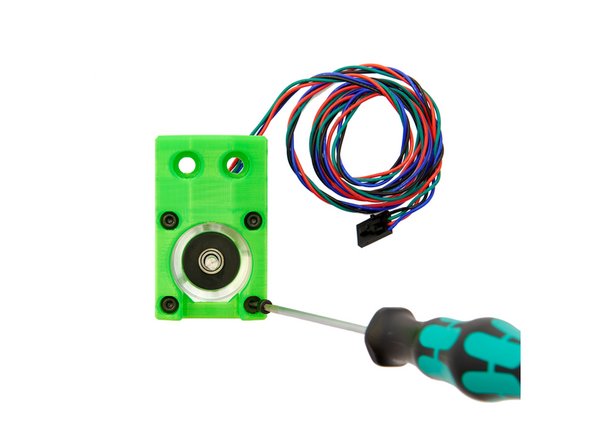
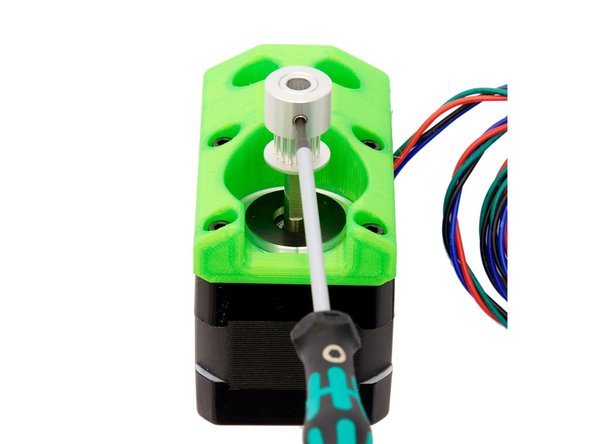
Slide the GT3 pulley onto the motor shaft of the stepper motor.
-
The GT3 pulley has two grub screws. Ensure that one of these screws is aligned with the flat surface of the shaft. Then, tighten both grub screws.
-
To avoid friction, leave a small gap between the pulley and the motor surface.
-
-
-
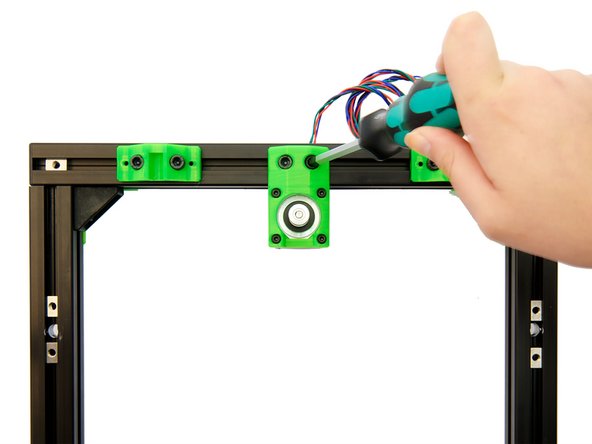
Attach the assembled y-motorholders to the 2x T-Nuts between the two y-rodholders in the rear x-axis. Use 2x M6x12mm Hexagon Socket Head Cap Screws for this.
-
-
-
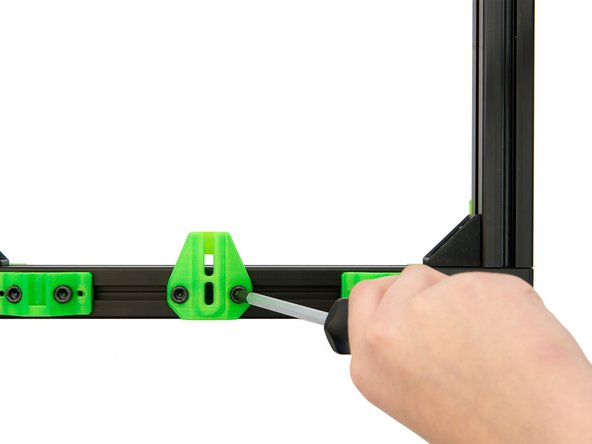
Setzen Sie den y-Riemenspanner auf 2x Nutensteine in der vorderen x-Achse und befestigen Sie diesen lose mit 2x M6x12mm Zylinderkopfschrauben.
-
Sowohl die y-Motorhalterung als auch der y-Riemenspanner müssen auf den dazugehörigen x-Achsen leicht verschiebbar sein.
-
-
-
Der Aufbau der y-Achse ist nun vollständig.
-
Wenn Sie einen Drucker mit MK52 Blocks bauen fahren Sie mit der Anleitung 03.1. Bau und Einbau eines Heizbettschlittens für MK52-Blocks fort.
-