
-
-
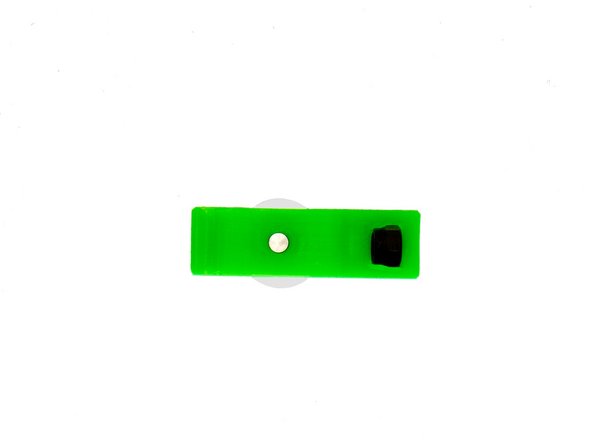
(1) Dowel Pin
-
-
(3) GT3 Belt
-
(4) xy-Belt Tensioner Insert
-
(5) 2x M3 Plastic Washers
-
-
(7) M3 Washers
-
-
-
-
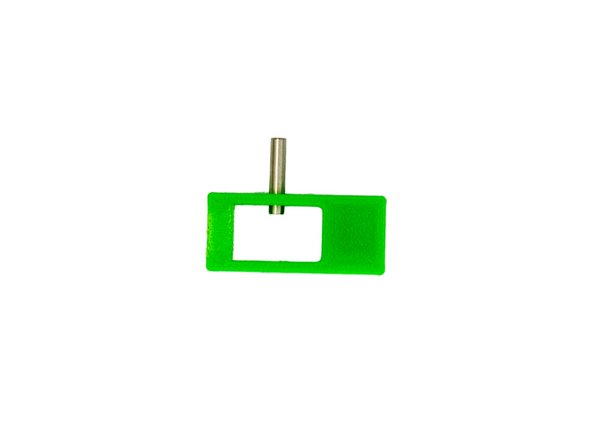
Take the xy-belt tensioner insert and widen one of the two holes on its side (e.g. using a 2.5x75mm Hexagonal Screwdriver).
-
Push a dowel pin through the newly enlarged hole. Push the dowel pin into the hole until it is only just visible inside the xy belt tensioner insert.
-
Place a M3 plastic washer on the dowel pin.
-
-
-
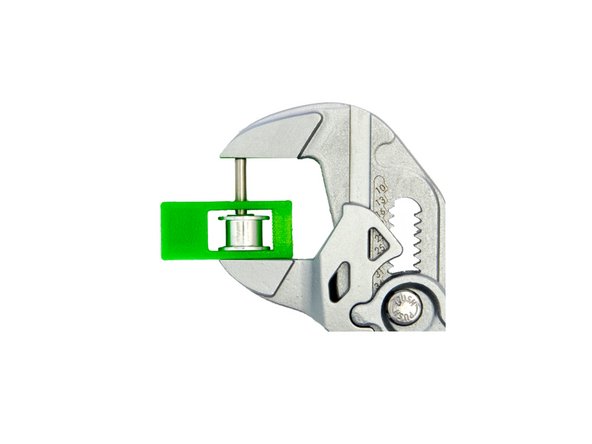
Now, place a toothless pulley onto the pin. Continue to push the dowel pin through until it reaches the end of the toothless pulley.
-
Place a M3 plastic washer on the toothless pulley and, using the pliers wrench, push the dowel pin as far as possible through the opening of the xy belt tensioner insert (Fig. 2).
-
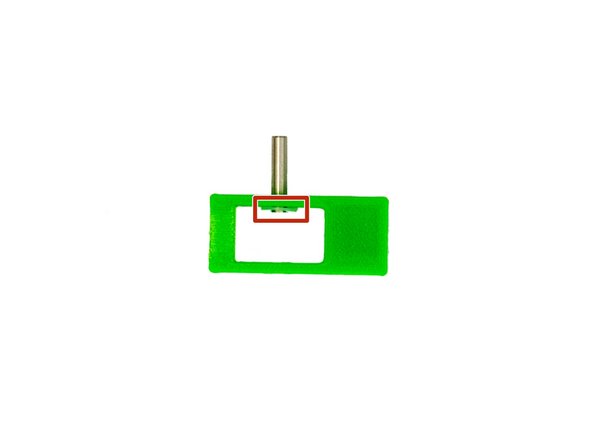
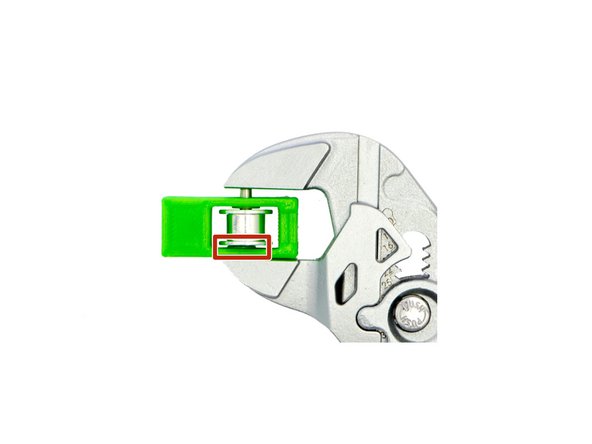
Finally, place an M3 Self-Securing Nut into the designated slot. Press the nut completely into the slot.
-
Pay attention to the alignment. The blue circlip must point towards the pulley.
-
The xy-belt tensioner insert is now fully assembled.
-
Since you will also need the xy-belt tensioner insert for the x-axis, you can build it a second time.
-
-
-
Cut the GT3 belt with a clipper halfway through its length. Set aside one half of the belt, as it will be needed later when you're installing the extruder.
-
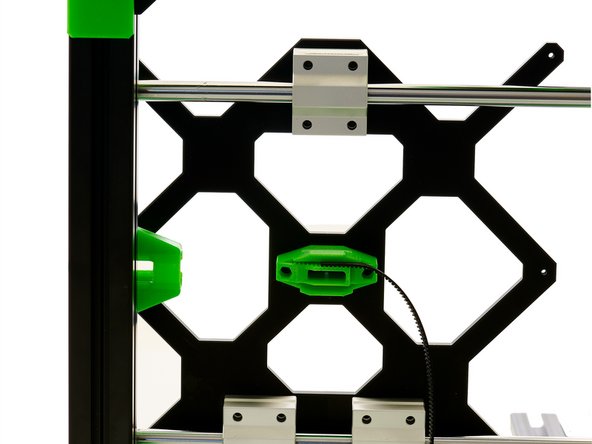
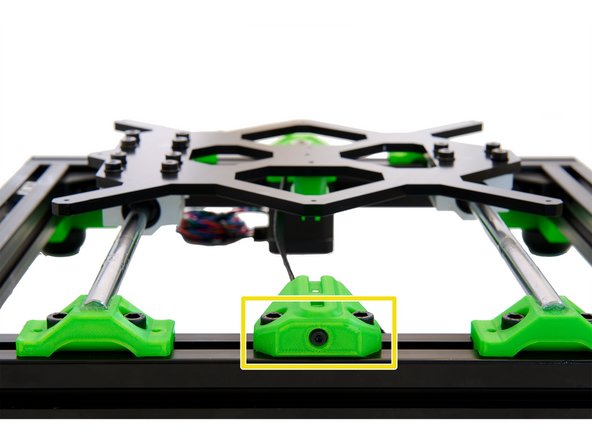
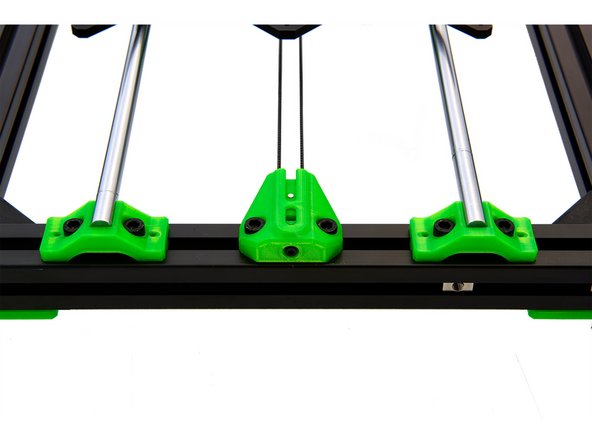
Turn your frame over and press the belt into it on the bottom half of the belt holder.
-
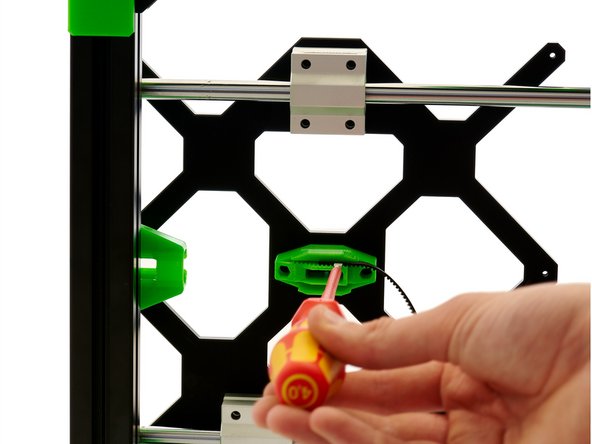
Use a flat-blade screwdriver to gently push the belt in, as the belt holder may break under increased pressure.
-
Wrap the belt around the pulley attached to the stepper motor and guide it further up through the belt holder.
-
-
-
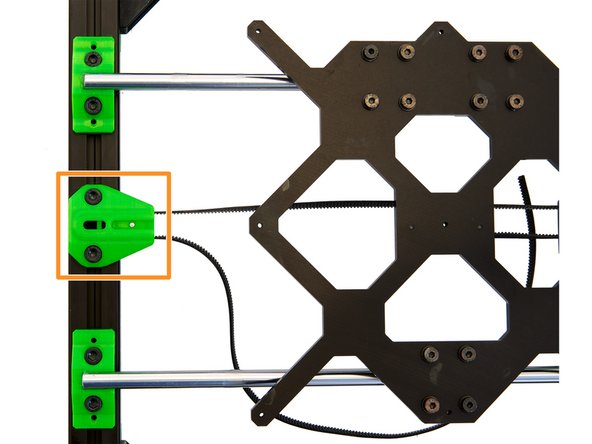
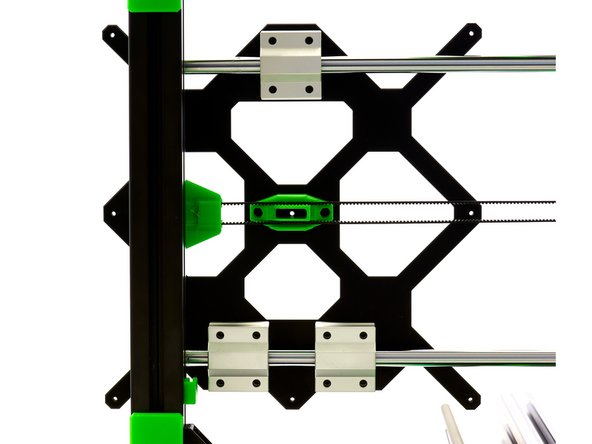
Place the xy belt tensioner insert with the M3 Self-locking Hex Nuts facing up, into the y belt tensioner. Pull the belt through the xy belt tensioner insert.
-
Slide the xy belt tensioner insert all the way into the y belt tensioner so that both are flush at the front.
-
Insert a M3 washer into the front hole in the belt tensioner and push a M3x18mm cylinder head bolt through . Screw the bolt in until the xy belt tensioner insert is reached and 1-2 turns are in the self-locking nut.
-
Do not pull the xy belt tensioner insert in any further.
-
-
-
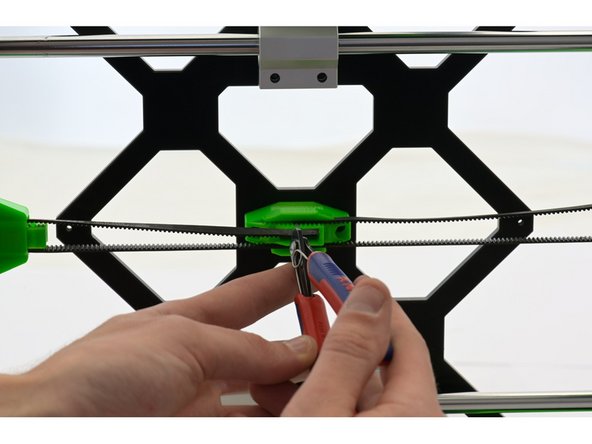
Now hold the belt against the belt holder to see how much of the belt you need to cut off.
-
After cutting off the excess, put the belt into the belt holder.
-
-
-
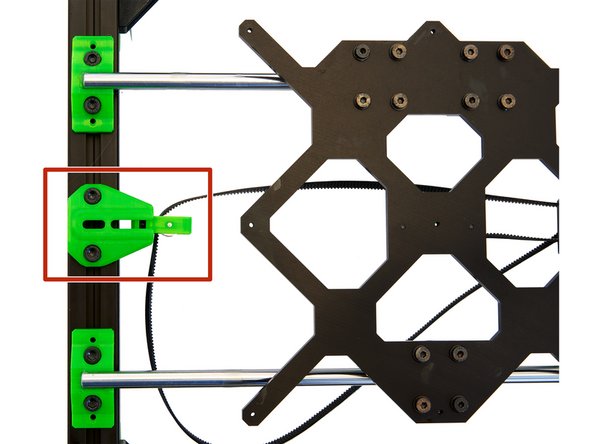
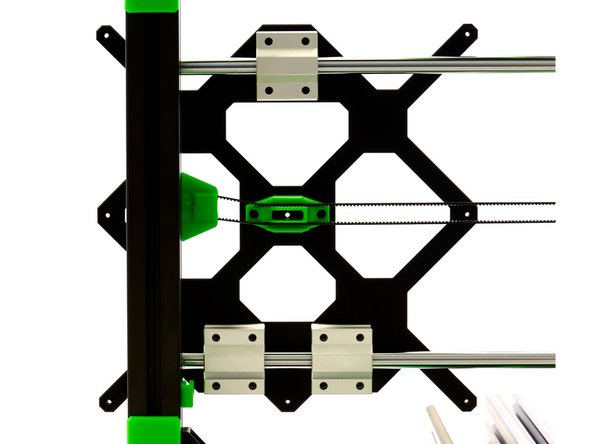
Move the y-carriage forward and look at the alignment of the belt.
-
Align the y-belt tensioner in such a way that the belt runs centrally through the opening in the belt holder. Then tighten the 2x M6x12mm Hexagon Socket Head Cap Screws on the y-belt tensioner.
-
Repeat the alignment procedure at the rear of the y-motor mount as well.
-
If necessary, you can adjust the belt looser or tighter with the M3x18mm Hexagon Socket Head Cap Screw in the belt tensioner.
-
-
-
The y-belt is now completely installed.
-
Continue with instructions 05. Assembly of the z-Axis
-


Cancel: I did not complete this guide.
One other person completed this guide.