
-
-
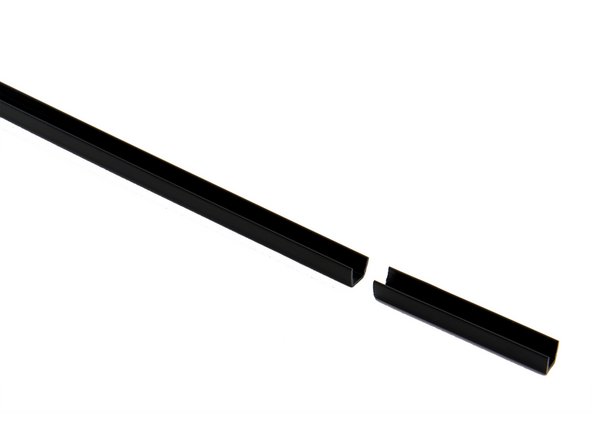
(1) 5cm Slot Cover
-
(2) 4x PSU Cable Clips
-
-
(4) Zip Ties
-
-
-
Take the Techflex tube and briefly heat both ends with a lighter.
-
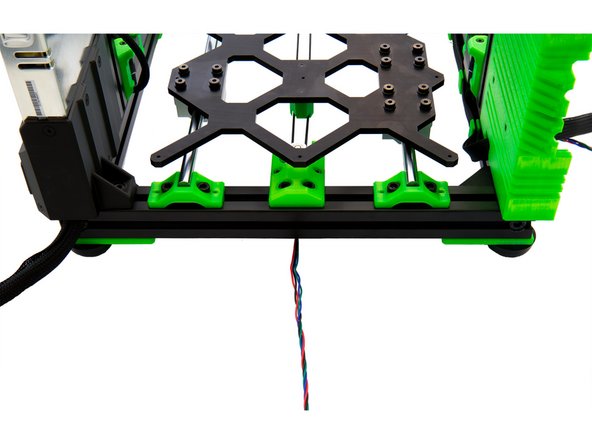
Now push the motor cable of the y-motor through the 25cm Techflex tube.
-
-
-
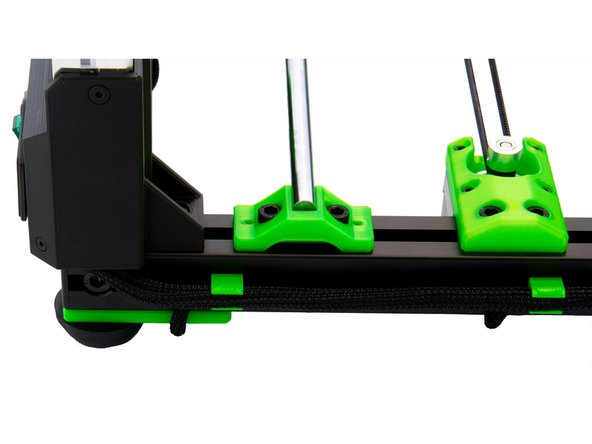
Cut off (e.g. using a scalpel or sharp knife) an approximately 5cm long piece of the slot cover
-
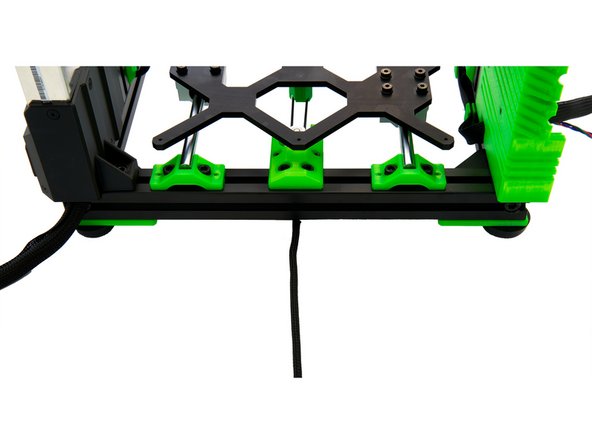
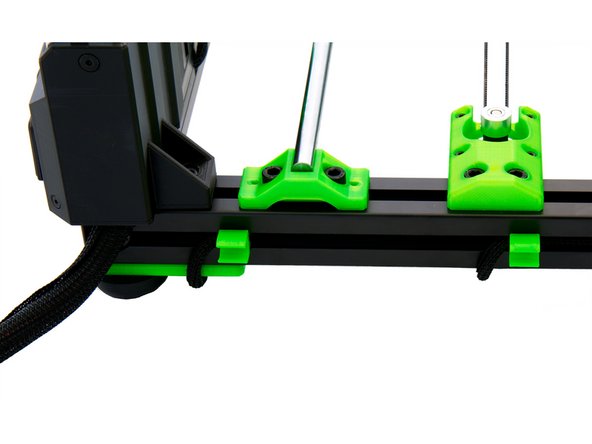
Press the cables of the right z-stepper motor into the left slot of the right y-extrusion and cover the cable with the slot cover.
-
Rotate your frame horizontally by 180°.
-
-
-
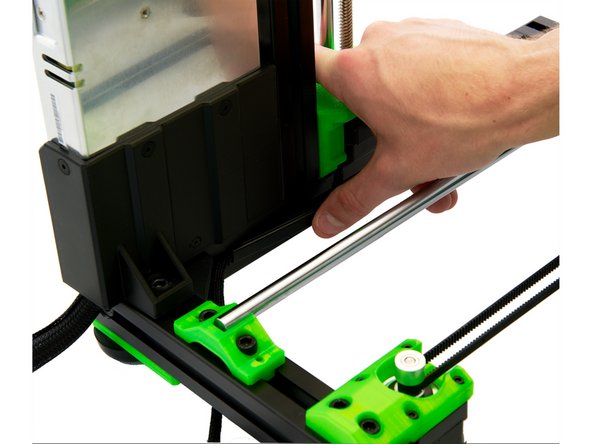
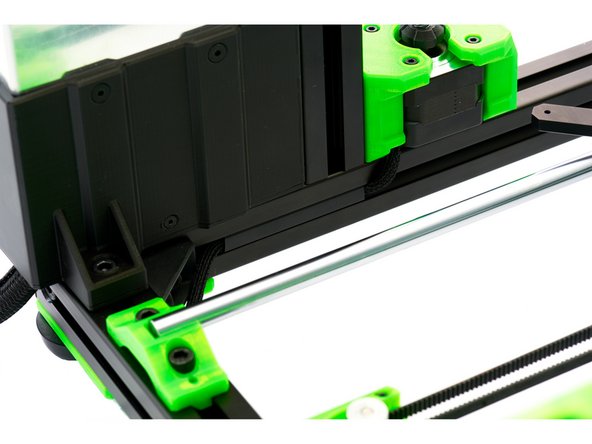
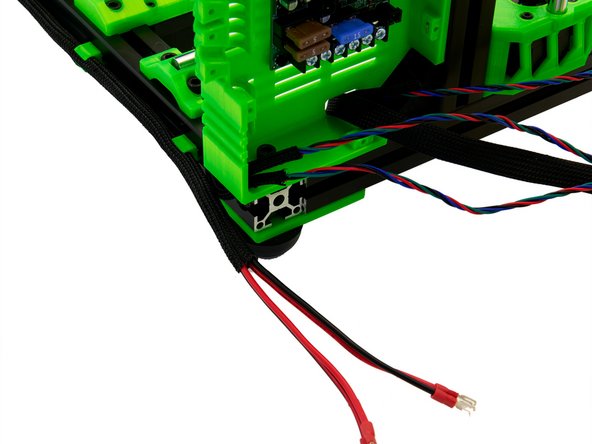
Pull the cable of the right z-stepper motor past the L-bracket, through the rear slot of the rear x-extrusion, and into the Einsy box.
-
Secure the cable in the slot using a cable clip.
-
-
-
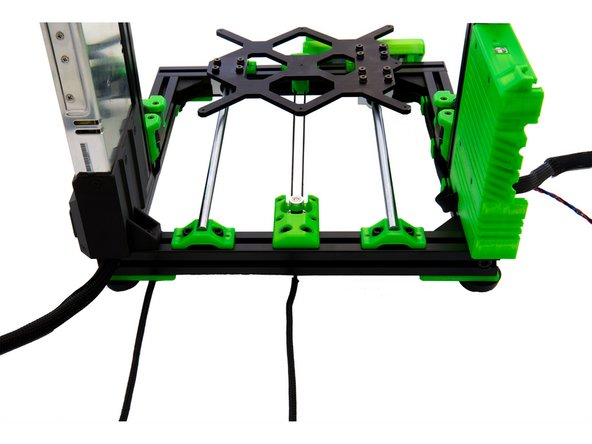
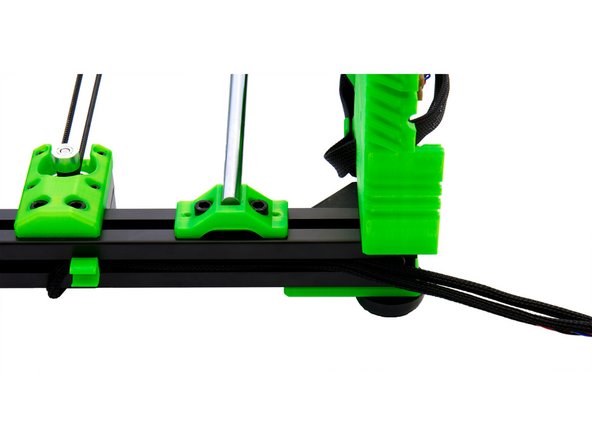
Also push the cable of the y-motor into the rear slot and route the cable until it reaches the Einsy Box.
-
Secure the cables with the remaining power supply cable clips.
-
-
-
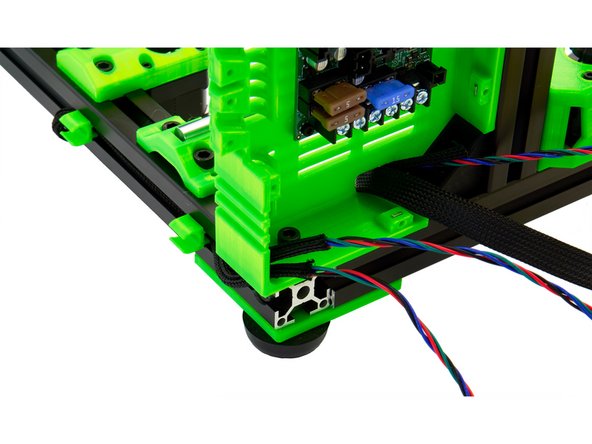
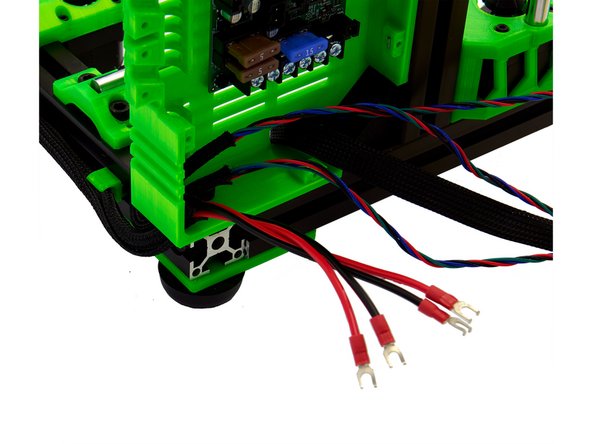
Now, guide the two Techflex tubes of the motor cables through the hole in the bottom of the Einsy Box.
-
-
-
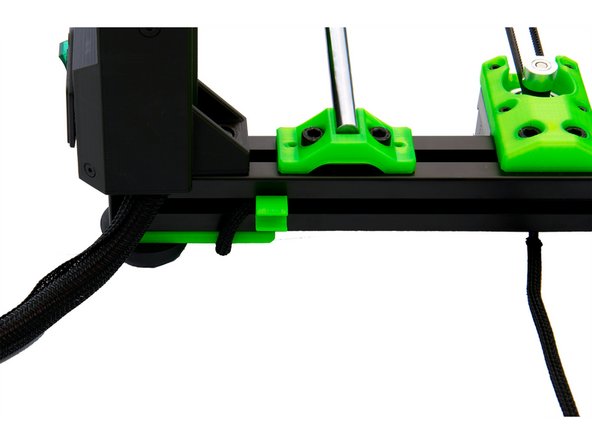
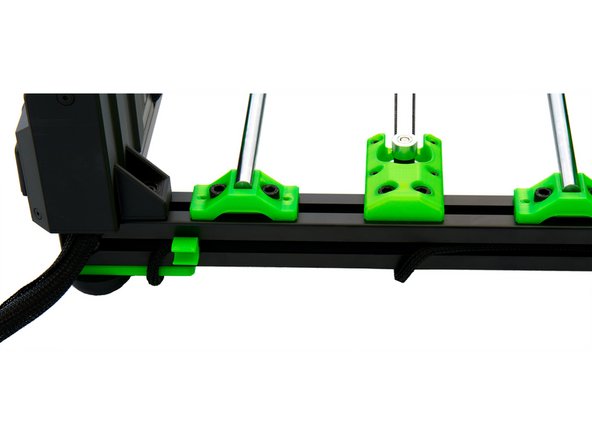
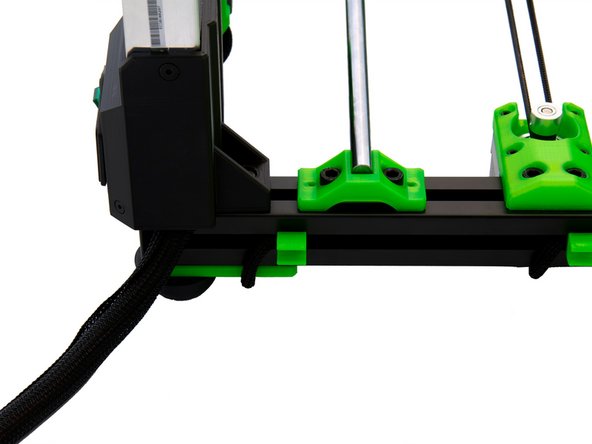
Press the Techflex tube with the PSU cables into the cable clips already attached to the back of the x-extrusion.
-
-
-
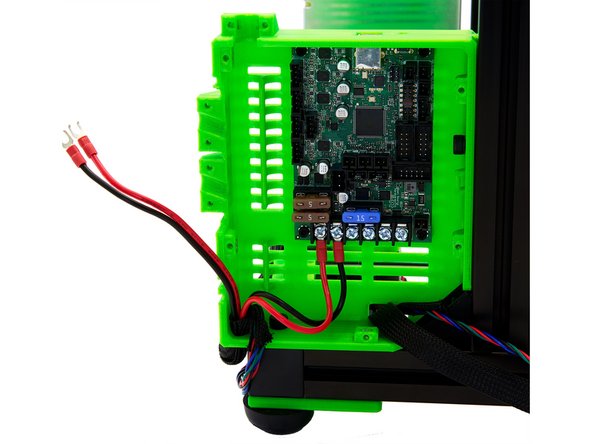
Pull the PSU cables from below through the hole into the Einsy box as well.
-
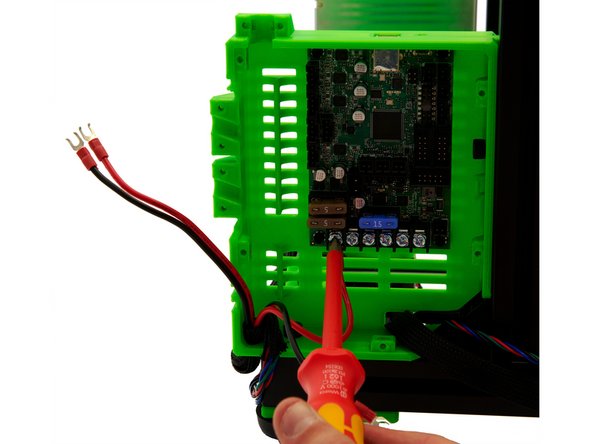
Attach the PSU cables to the four left connectors using a PH2 Phillips screwdriver (see Figure 3).
-
These screws may have to be loosened beforehand.
-
Pay attention to the colors of the cables and follow the instructions in Fig. 3. A mistake in the wiring can lead to a short circuit!
-
-
-
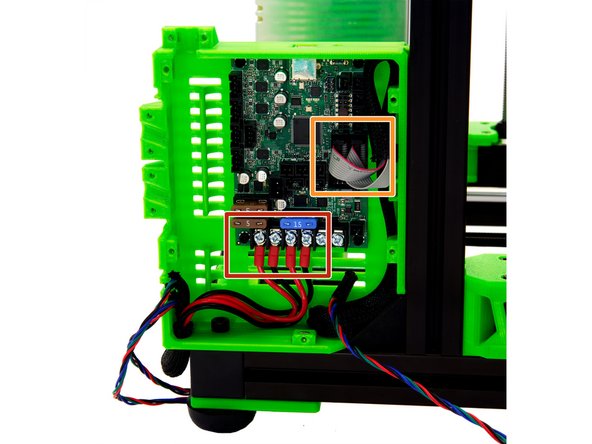
Now connect the second pair ofPSU cables to the Einsy board as shown.
-
Now connect the two display cables to the board.
-
Cable 1 right
-
Cable 2 left
-
-
-
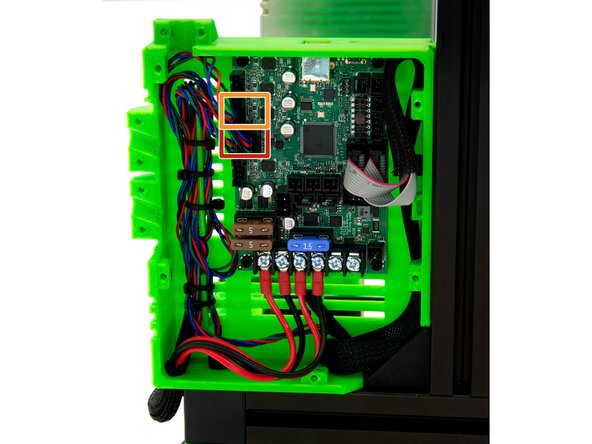
Pull three motor cables to the left side of the Einsy Box and fasten them to the cable holder with zip ties.
-
Now plug the motor cables into their respective connectors.
-
The z-motors are plugged into the double connection.
-
The y-motor is plugged into the second connection from the top.
-
-
-
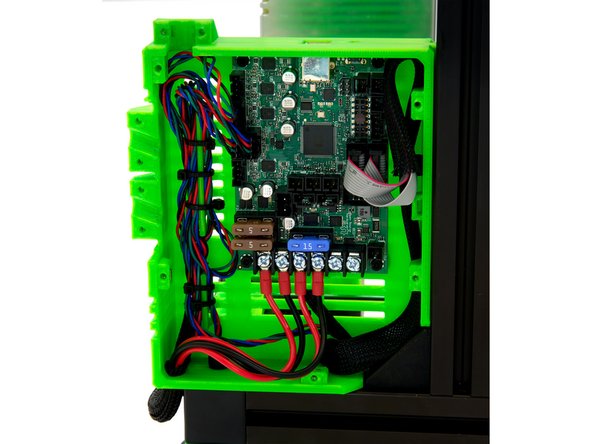
The wiring of the motors and the PSU is now complete.
-
Continue with instructions 11. Installation of the Heatbed.
-


Cancel: I did not complete this guide.
One other person completed this guide.