-
-
Go to the CaribouDuet Software page.
-
In the File Manager of the page, click:
-
02_Duet2Wifi-Configuration-Macros
-
Navigate through the directory tree to the correct software for your printer and download the .zip by clicking on it.
-
Save the file in a directory of your choice.
-
-
-
Open a Windows Explorer and change to the directory where you downloaded the file.
-
Click once on the file.
-
An option to unzip will be displayed. Click on it once.
-
Click Extract All.
-
A window opens, in which a destination directory is displayed. This is a subdirectory of the current folder. When you click Extract, the files will be unzipped. Make sure that you check the box to display the unzipped files
-
-
-
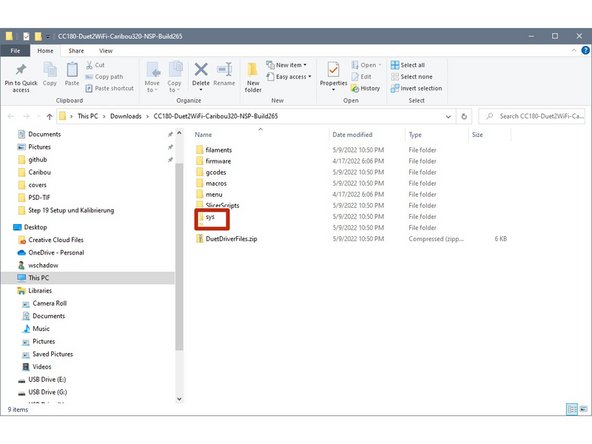
Double click on sys.
-
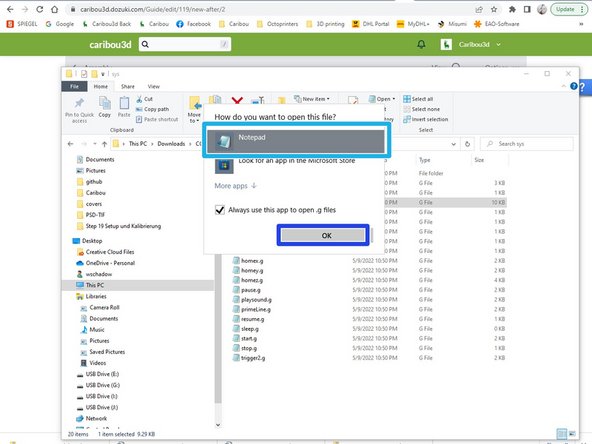
Right-click config.g and a list of options will be displayed.
-
If you have a test program like Notepad++ or TextPad installed, choose one of them to open the file.
-
If you do not have such a program, just click Open with,
-
select Notepad,
-
and click ok.
-
A new window will open and display the file.
-
-
-
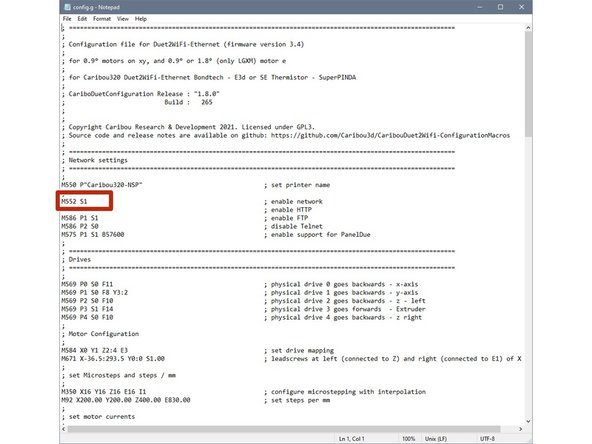
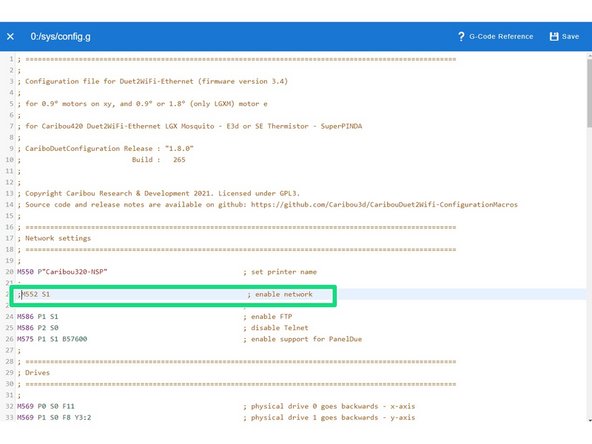
Look for the line starting with the command M552 (line 20-22 depending on the version).
-
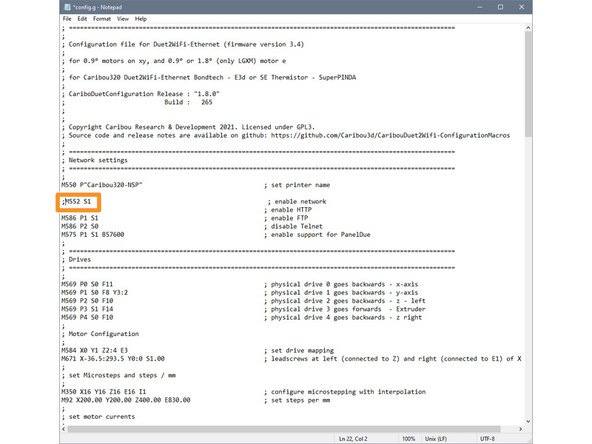
Place a semicolon (;) at the beginning of the line.
-
With this change the command will not be executed.
-
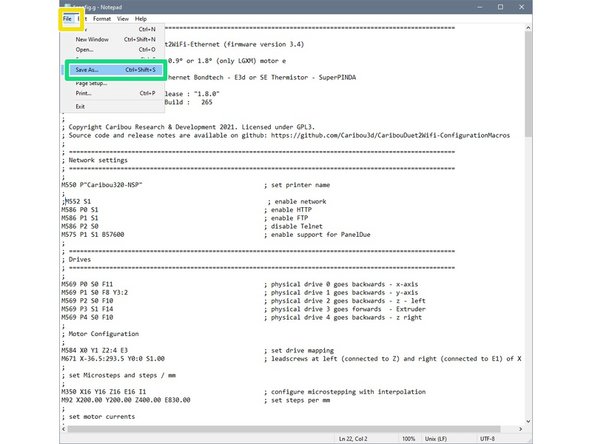
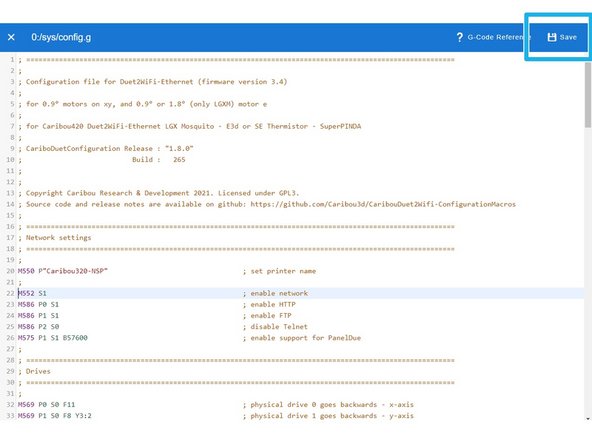
Click on File
-
and click on Save.
-
-
-
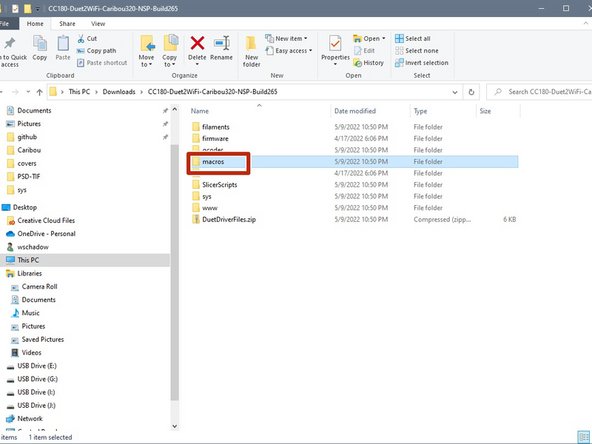
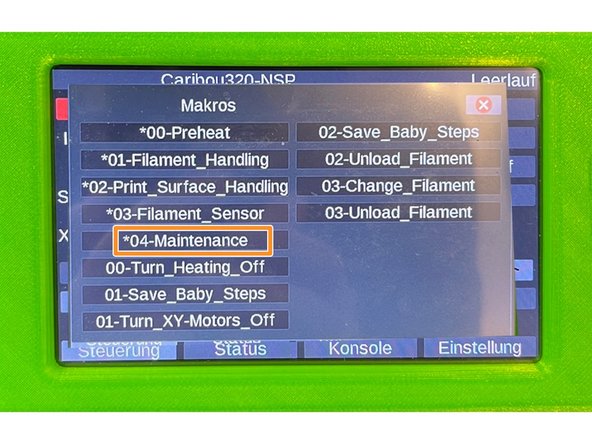
Go back to the root directory in your Explorer and select macros with a double click.
-
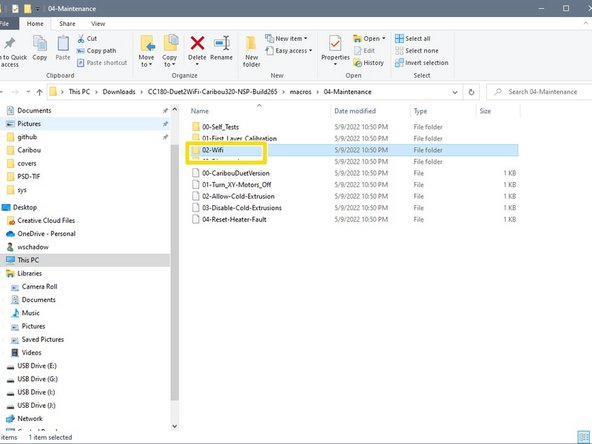
Change further to the directory 04-Maintenance.
-
and from there to02-Wifi.
-
-
-
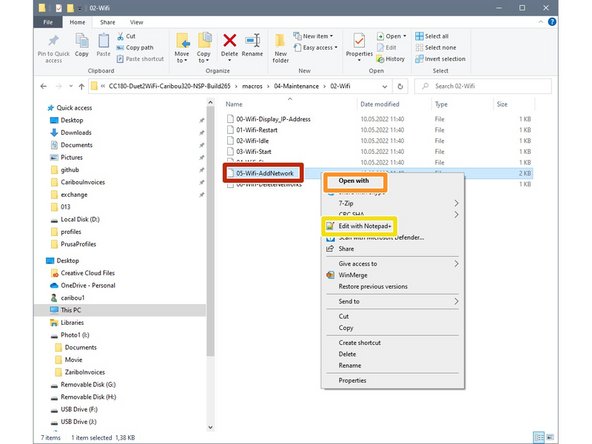
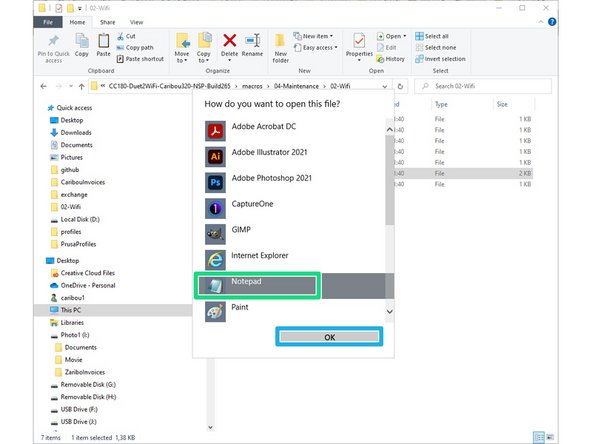
Right click on 05-Wifi-AddNetwork and a list of options will be displayed.
-
If you have a test program like Notepad++ or TextPad installed, choose one of them to open the file.
-
If you do not have such a program, just click Open with,
-
select Notepad,
-
and click ok.
-
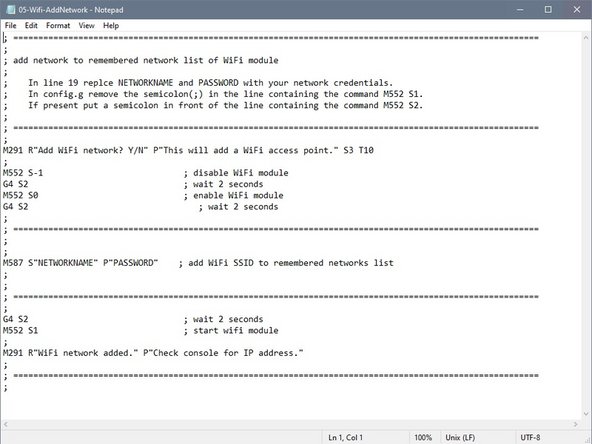
A new window will open and display the file.
-
-
-
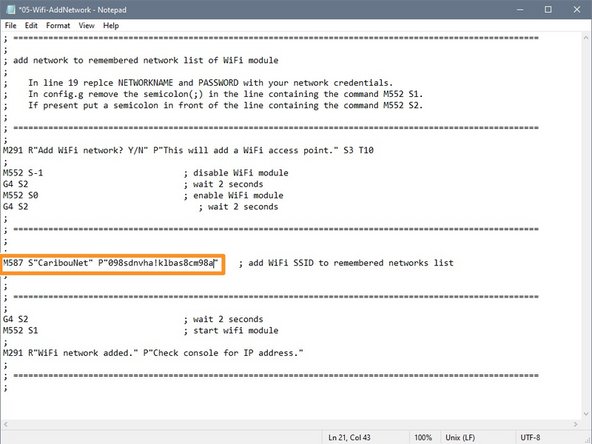
Now you need to enter both the name of your WiFi network and the password. Do not change anything else. If you remove the quotation marks, make sure you insert double quotation marks by pressing the Shift 2 key on your keyboard.
-
The new entry should look similar.
-
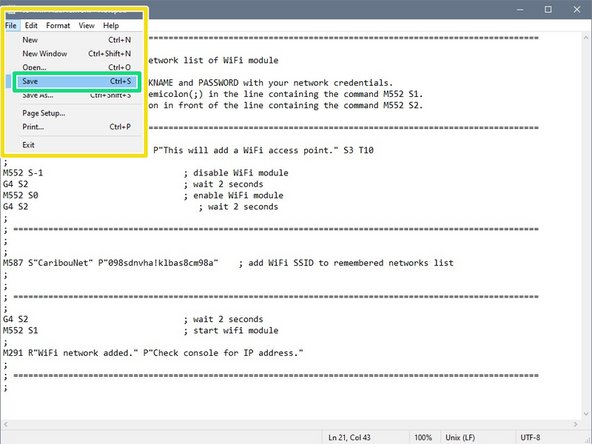
Press CTRL-S or STRG-S on your keyboard or go to File,
-
and select Save. You can now close this window.
-
-
-
Switch off the printer.
-
Now remove the SD card from the Duet board in the DuetBox and insert it into your PC / laptop.
-
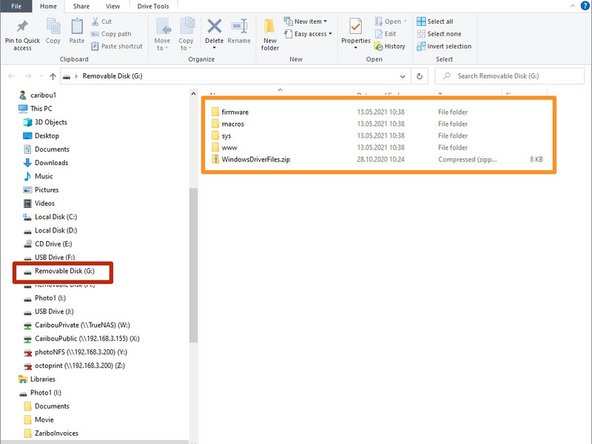
A window opens, which displays the contents of the card.
-
Delete all the files on the SD card.
-
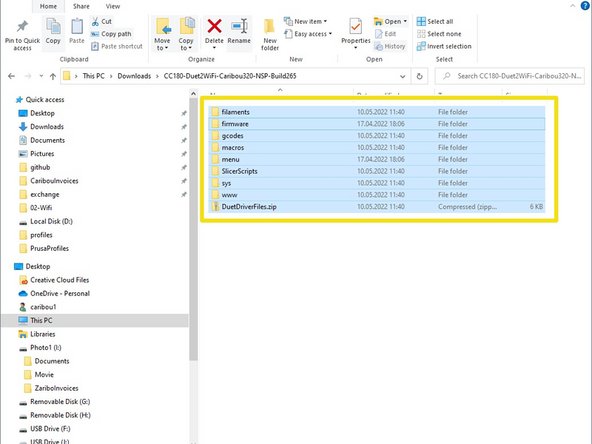
Now go back to the directory with the unzipped files and mark all files by pressing STRG-A or CTRL-A.
-
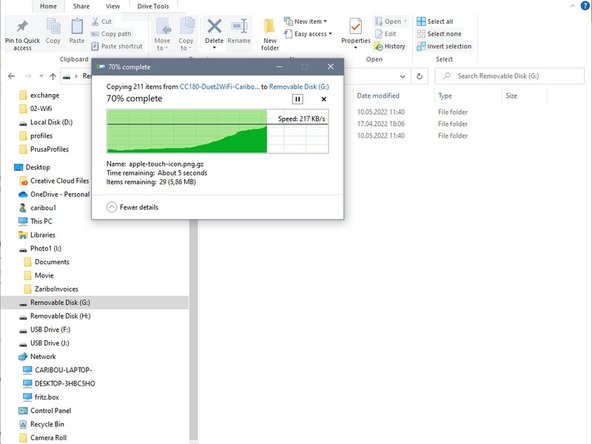
Now press STRG-C or CTRL-C to copy.
-
Switch back to the SD card and press STRG-V or CTRL-V to insert.
-
After the copying process is finished, you can remove the card from the PC / laptop and put it back into the Duet board.
-
-
-
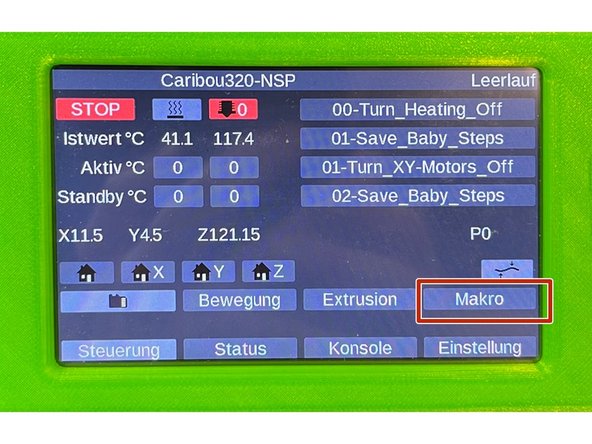
Now switch on the printer and wait until the overview appears.
-
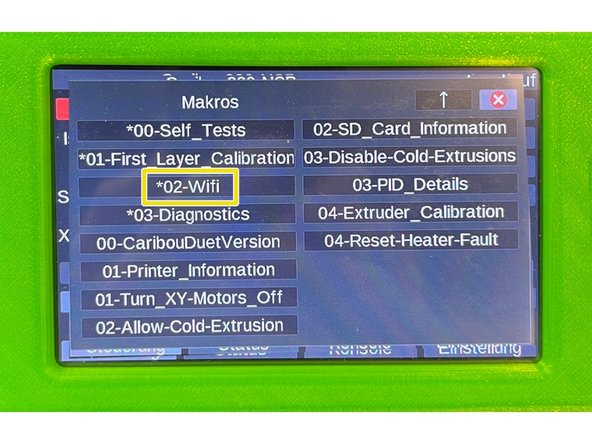
Click Macros,
-
from there to 04-Maintenance
-
and finally to 02-WiFi.
-
-
-
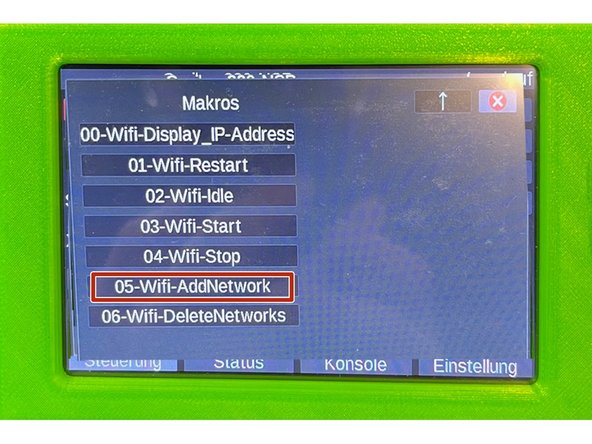
Click on 05-WiFi-AddNetwork and execute the macro with it.
-
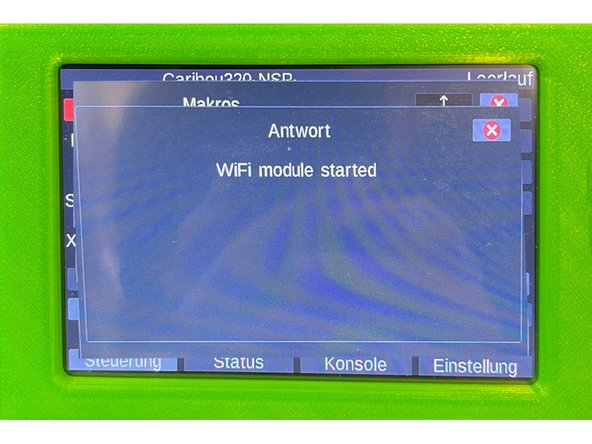
The Duet board will now try to connect to the network.
-
In case of an error, check the network data you wrote into the macro.
-
After a short time, the IP address is displayed. Make a note of the address.
-
-
-
Now enter the IP address in a web browser. This will give you access to the Duet board and you can control it, upload files, etc.
-
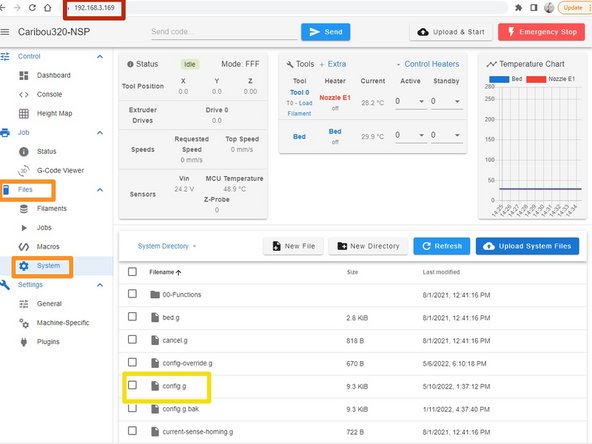
In the menu on the left side go to Files, then to System.
-
Click on config.g.
-
Now remove the semicolon (;) (was added in step 4) before the M552 command.
-
By clicking Save the file is saved.
-
The board does not have to be restarted afterwards.
-
The next two steps update the firmware of the DuetBoard and the PanelDue.
-
-
-
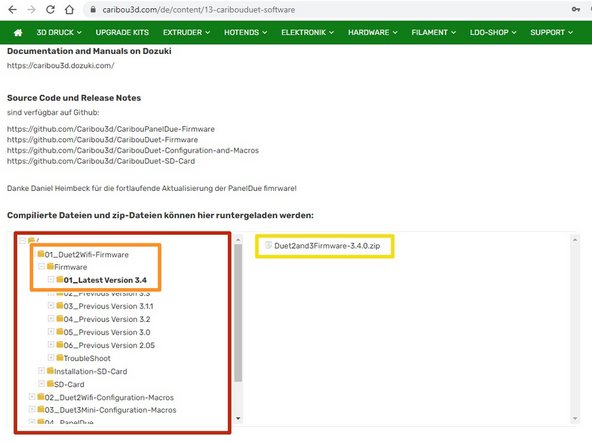
Go to the CaribouDuet Software page.
-
In the File Manager of the page, click:
-
01_Duet2Wifi-Firmware / Firmware / 01_Latest Version 3.4
-
The version number may differ when new firmware is released.
-
Download the .zip file by clicking on it.
-
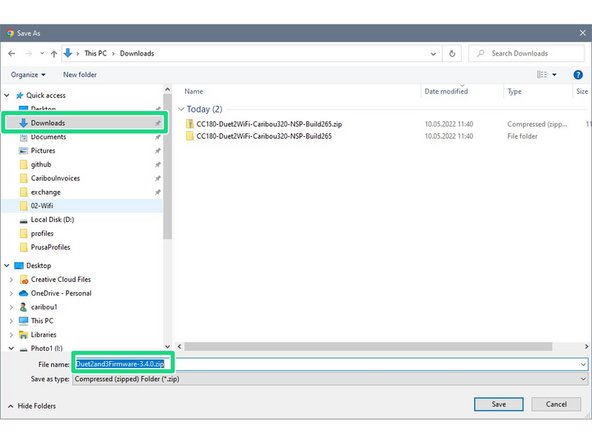
Save the file in a directory of your choice.
-
-
-
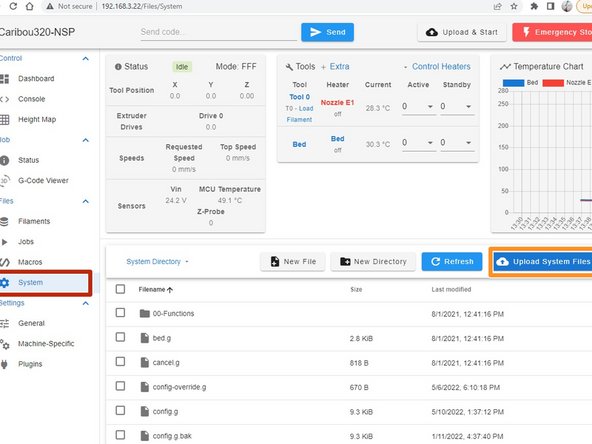
In Duet WebControl, select System.
-
Click there on Upload System Files.
-
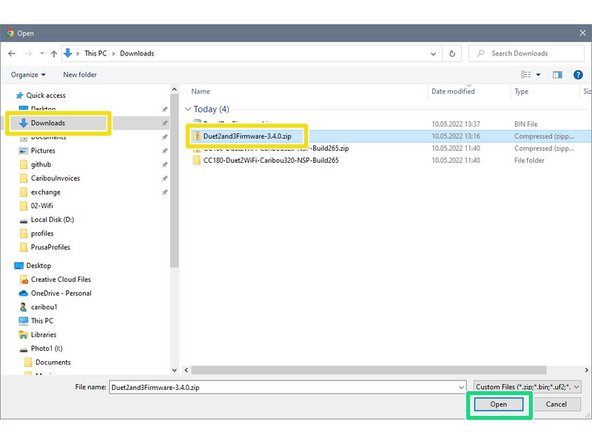
A window opens and you select the file Duet2and3Firmware-x.x.x.zip there.
-
Click on open.
-
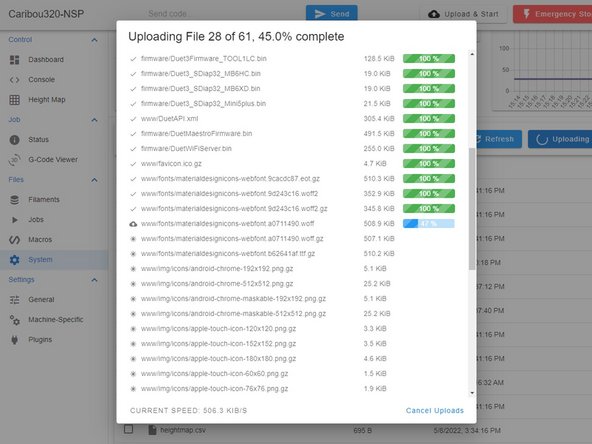
The firmware will now be unpacked automatically.
-
-
-
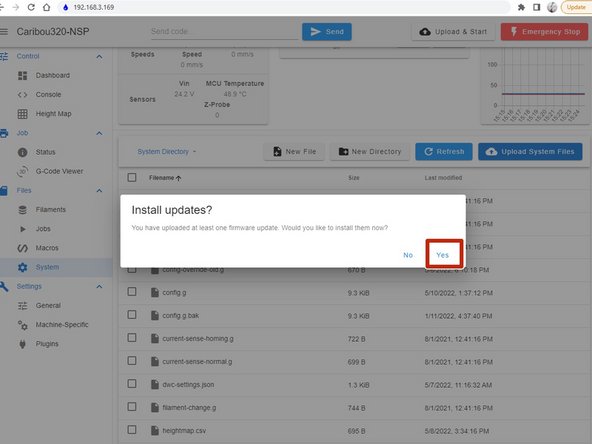
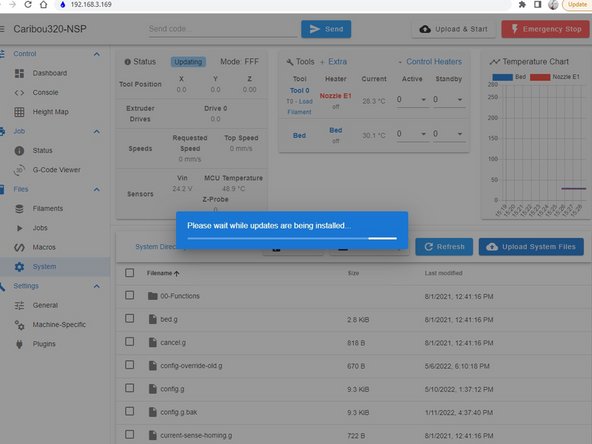
A window will open, click yes there to start the installation.
-
The firmware will now be installed. The process can take up to 60sec and in the meantime the connection is interrupted and automatically restored.
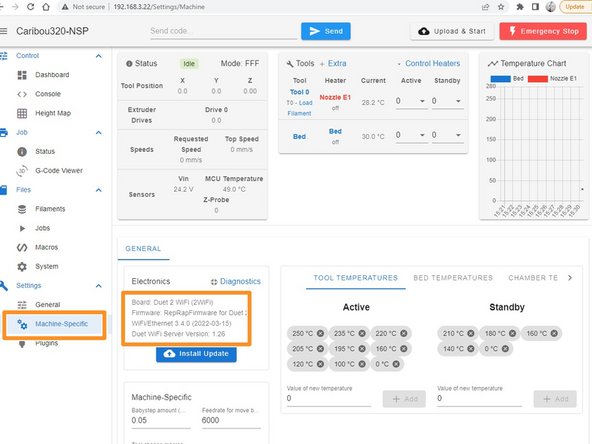
-
Under Machine-Specific you can check the currently installed version.
-
-
-
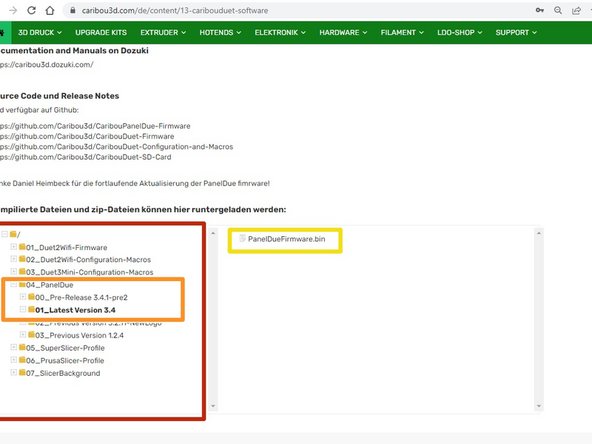
Go to the CaribouDuet Software page.
-
In the File Manager of the page, click:
-
04_PanelDue / 01_Latest Version 3.4
-
The version number may differ when new firmware is released.
-
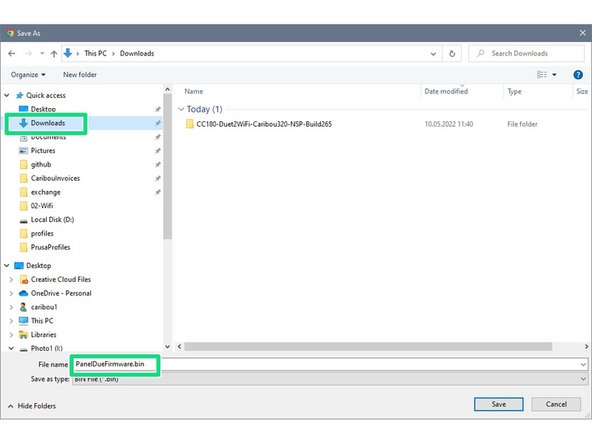
Download the .bin file by clicking on it.
-
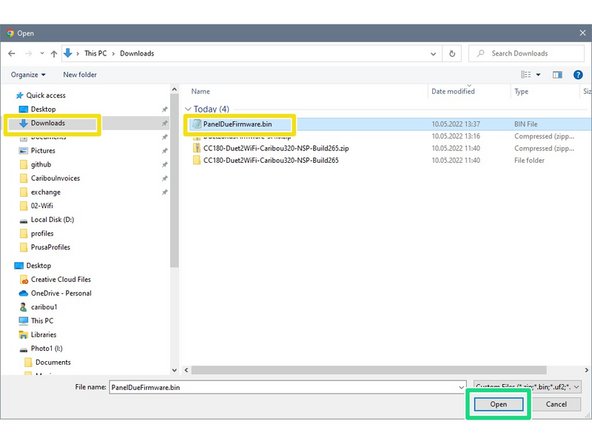
Save the file in a directory of your choice.
-
-
-
In Duet WebControl, select System.
-
Click there on Upload System Files.
-
A window opens and you select the file PanelDueFirmware.bin there.
-
Click on open.
-
Slelect yes in the window that opens after the upload, .
-
The firmware will be installed now. The process takes about 45sec.
-
If you get an error message that access is not possible, take a thin stick and press the Erase button (small hole above the push button on the PanelDue Cover) briefly once.
-