Introduction
Continue with this instruction 07. Building a power supply if you have an unassembled power supply. If your power supply is already assembled, continue with instruction 08. Installation of the Einsy Box and the PSU.
-
-
(1) Meanwell PSU
-
(2) PSU Switch
-
(3) PSU Cables
-
(4) Meanwell PSU Cover
-
(5) Meanwell Top Mount
-
(6) PSU Cover Bottom
-
-
-
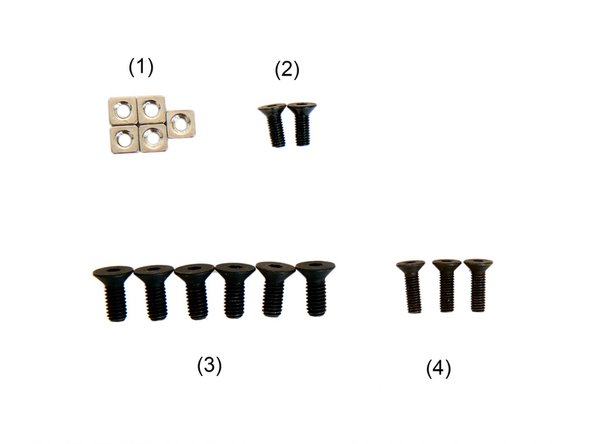
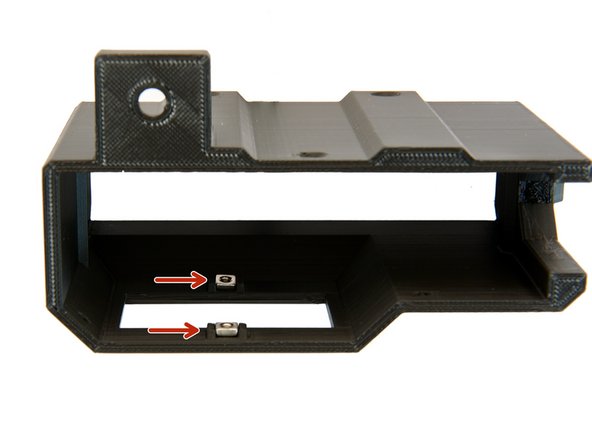
Insert 2x M3 Square Nuts into the designated holders on the inside of the Meanwell case.
-
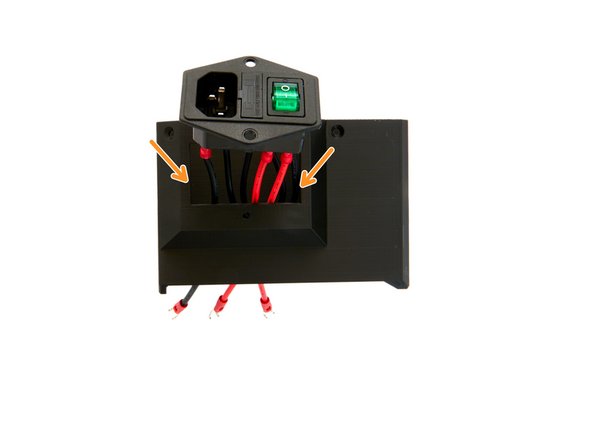
From the outside, push the cables of the PSU switch into the Meanwell cover.
-
Pay attention to the orientation of the switch in the pictures.
-
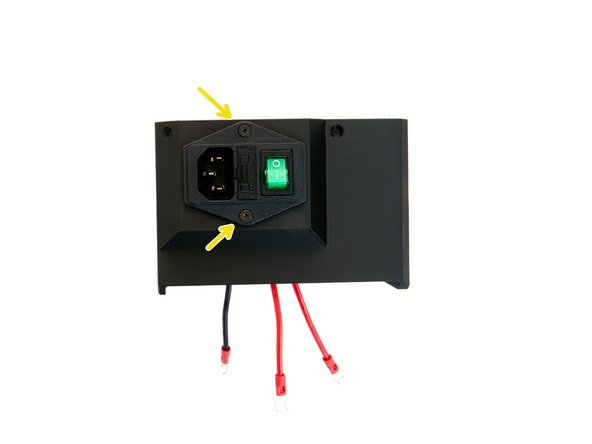
Use 2x M3x8mm Flat Head-Head Socket Cap Screws to fix the PSU switch.
-
-
-
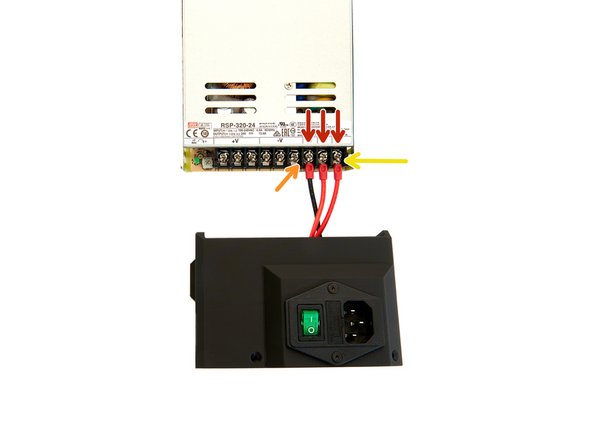
Loosen the first three screws from right to left (L, N and ground).
-
Attach the black cable to ground...
-
and the two red cables to L and N (the order of the red cables is irrelevant).
-
Loosen two screws each at +V and -V.
-
Attach the two red power supply cables to +V...
-
and the two black ones to -V.
-
It is important that you wire the Meanwell correctly, otherwise a short circuit may occur.
-
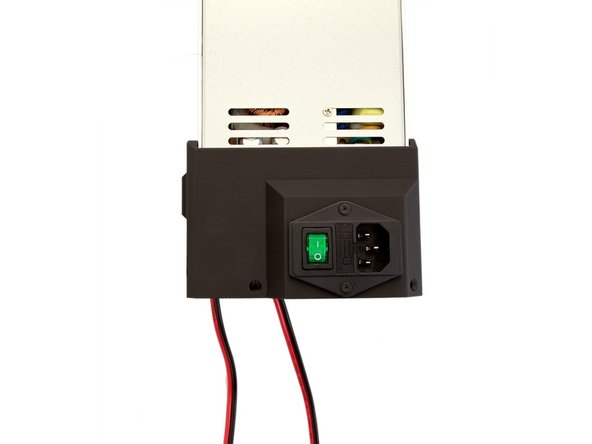
Push the PSU and the Meanwell cover together.
-
-
-
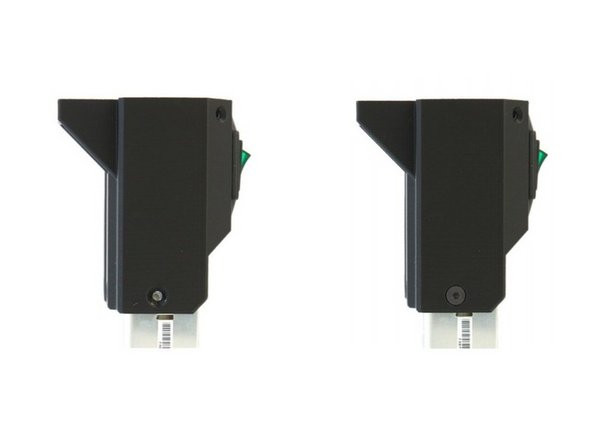
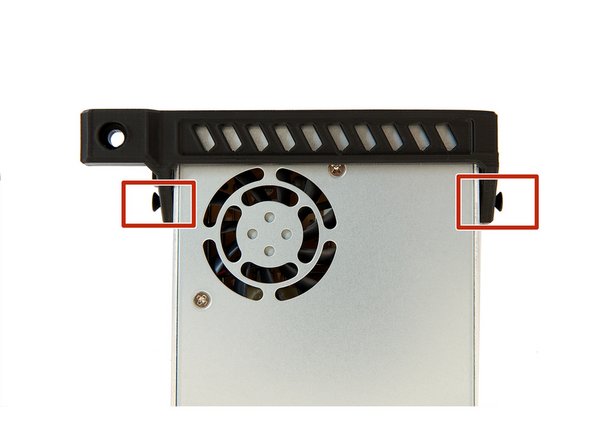
With 4x M4x12mm Flat Head-Head Socket Cap Screws the Meanwell cover is screwed to the Meanwell PSU at the sides ( figures 1,2) and the back (figure 3).
-
-
-
2x M4x10mm Flat Head-Head Socket Cap Screws are used to attach the Meanwell Top Mount to the top of the PSU.
-
-
-
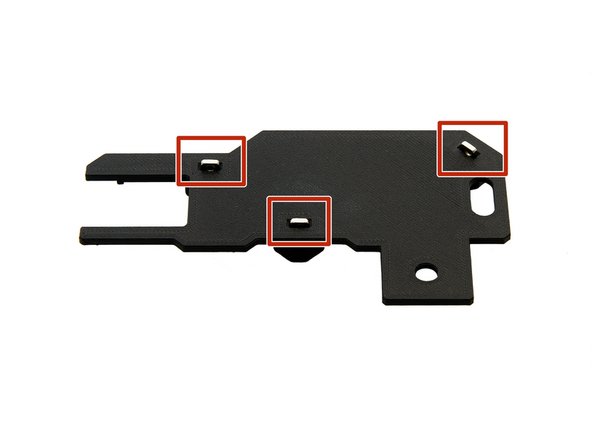
Insert 3x M3 Square Nuts into the Meanwell cover bottom.
-
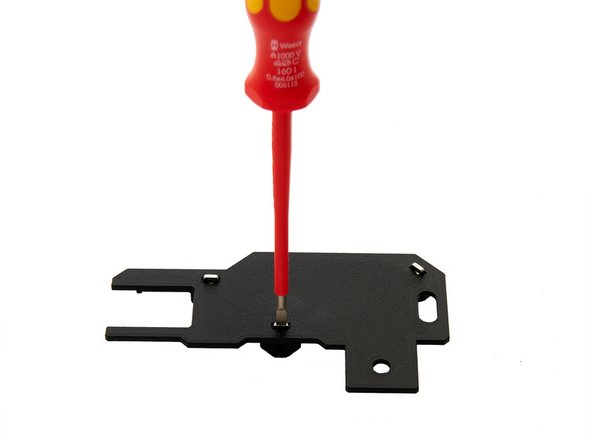
Push the square nuts (e.g. with a flathead screwdriver), to the bottom of the slots.
-
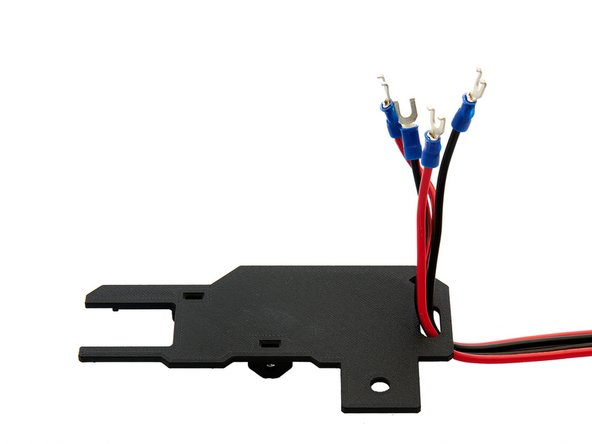
Push the cables through the opening in the bottom of the Meanwell cover.
-
-
-
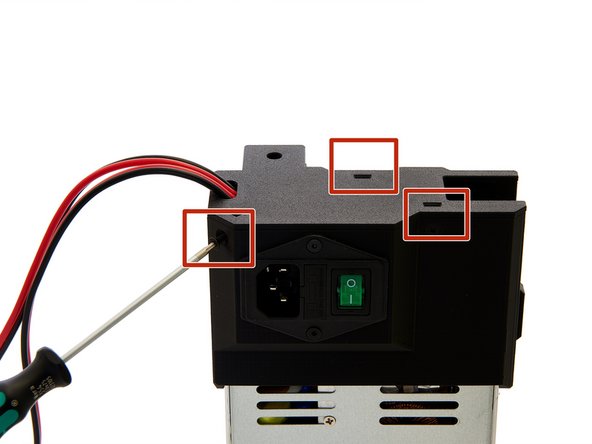
Place the PSU cover bottom on the PSU cover.
-
Use 3x M3x10mm Flat Head-Head Socket Cap Screws to screw the PSU cover bottom to the PSU cover.
-
-
-
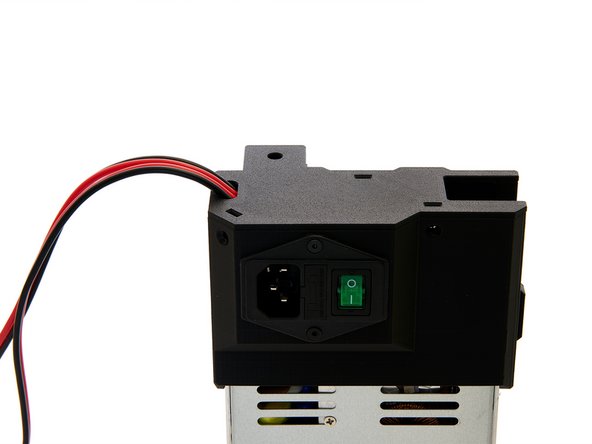
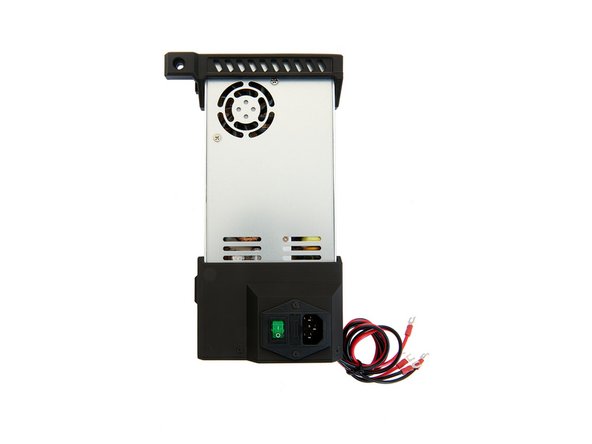
The PSU is now completely assembled.
-
Continue with instructions 08. Installation of the Einsy Box and the PSU.
-


