-
-
-
Caribou 220: 35cm
-
Caribou 320: 45cm
-
Caribou 420: 55cm
-
(2) Nylonfilament
-
Caribou 2020: 37cm
-
Caribou 320: 47cm
-
Caribou 420: 57cm
-
-
-
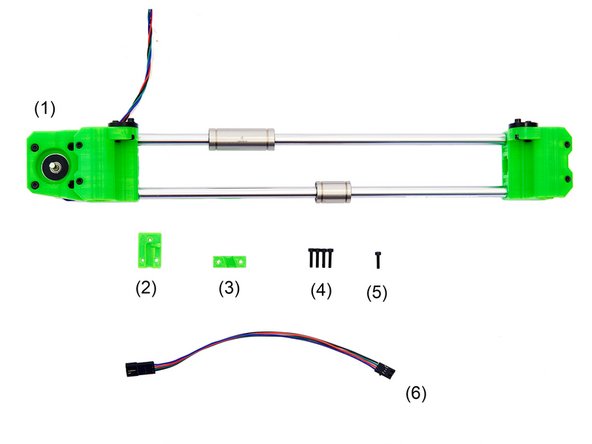
(1) Assembled x-Axis
-
(2) x-Cable Holder
-
(3) Cable Holder (Angled)
-
-
-
If you are building a Caribou 320 or 420 you will need the following:
-
-
-
-
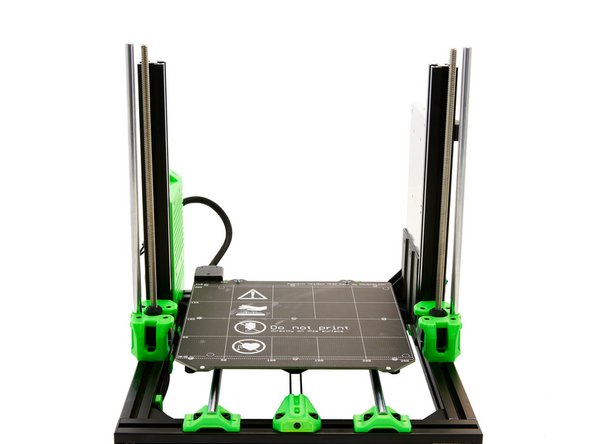
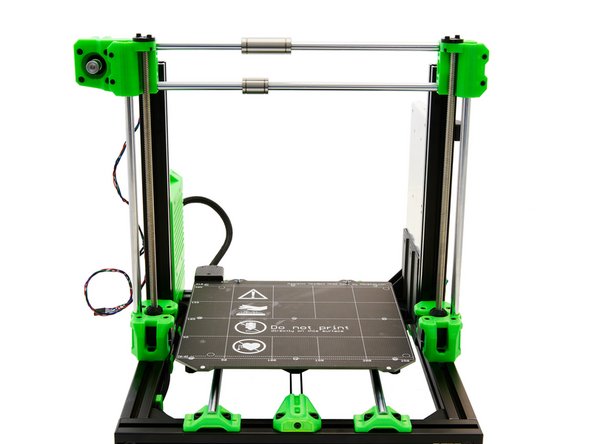
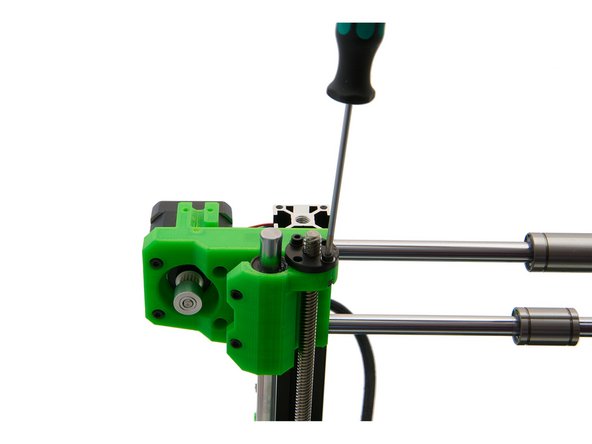
Carefully place the assembled x-axis on the z-stepper motors and z-rods.
-
Be careful not to damage the bushings in the x-axis.
-
-
-
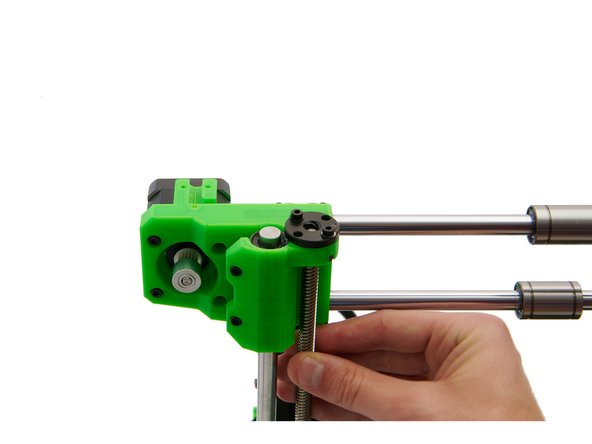
Turn both spindles of the z-stepper motors at the same time to move the x-axis slightly downwards.
-
Then tighten the 2x M3x14mm Hexagon Socket Head Cap Screws to the 2x POM Nuts.
-
-
-
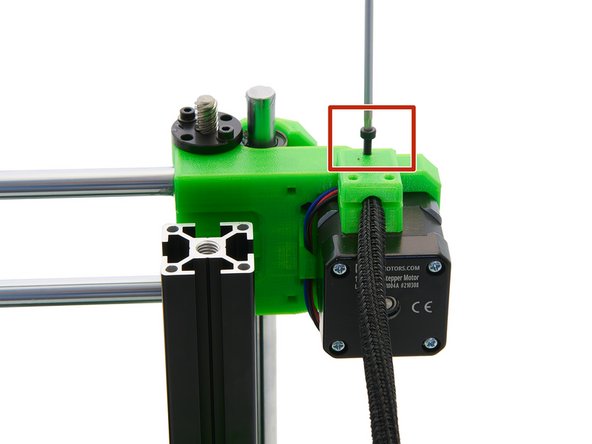
Cut your Techflex tube and nylon so that the lengths fit your printer model (see Step 2).
-
The two ends of the Techflex tube are briefly heated with a lighter.
-
Now, push the nylon and motor cable through the Techflex tube.
-
If you are building a Caribou 320 or Caribou 420 you will need to extend your x-motor cable with a motor extension cable.
-
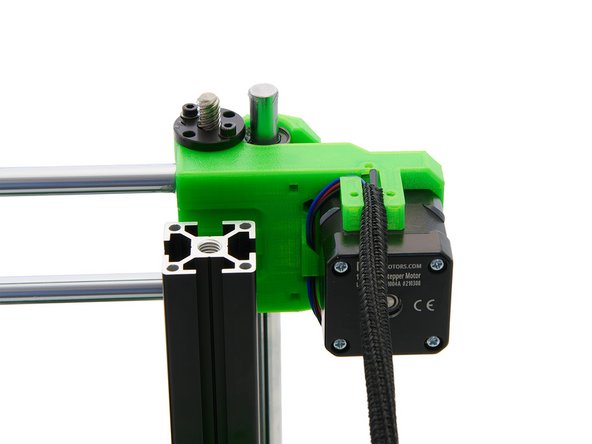
Push the Techflex tube into the cable guide.
-
-
-
Push the Techflex tube into the cable guide.
-
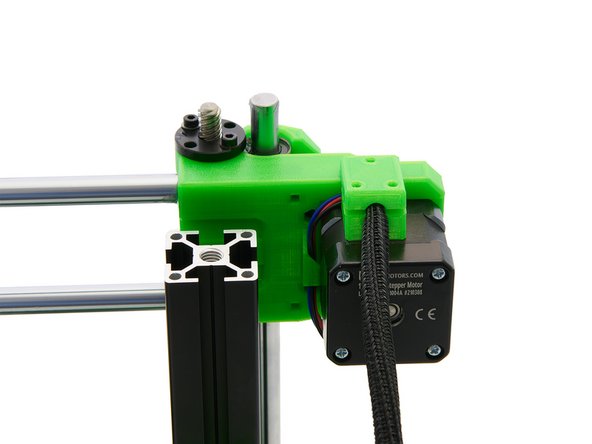
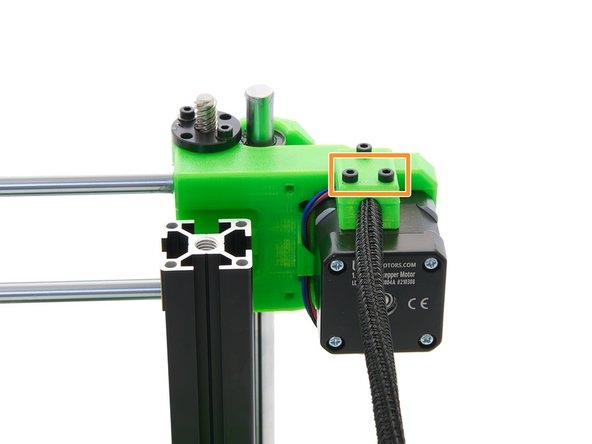
Place the x-cable holder on it.
-
At the rear, fasten it with a M3x12mm Hexagon Socket Head Cap Screw.
-
At the front, fasten it with a 2x M3x12mm Hexagon Socket Head Cap Screw.
-
-
-
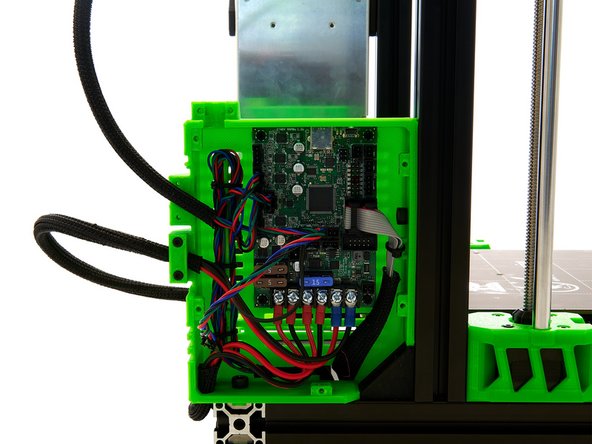
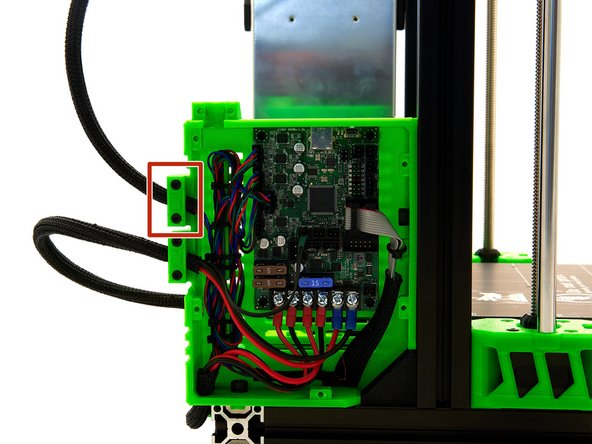
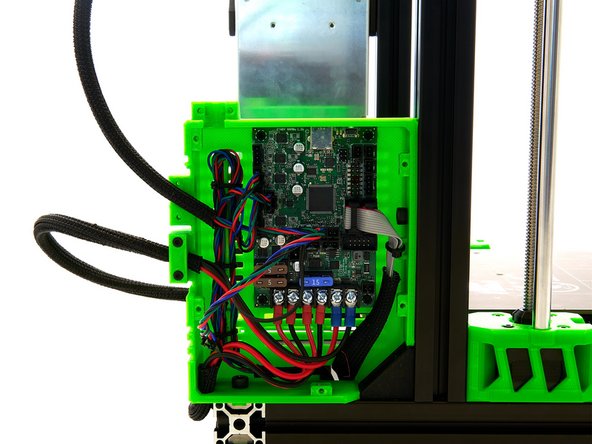
Führen Sie das Motorkabel zur oberen Kabelführung auf der linken Seite der Einsy Box.
-
Fixieren Sie den Kabelschlauch mit einer schrägen Kabelhalterung und 2x M3x14mm Zylinderkopfschrauben.
-
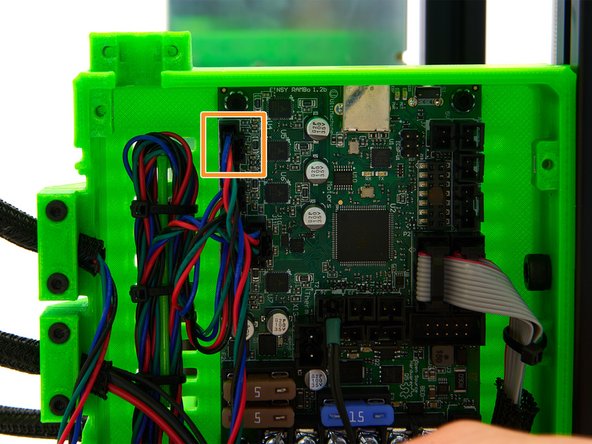
Das x-Motorkabel wird in den oberen linken Anschluss eingesteckt (siehe Bild 3).
-
-
-
The installation of the x-axis is now completed.
-
Continue with instructions 14.1. Assembly of the Slice Engineering Hotend.
-
Cancel: I did not complete this guide.
One other person completed this guide.


