-
-
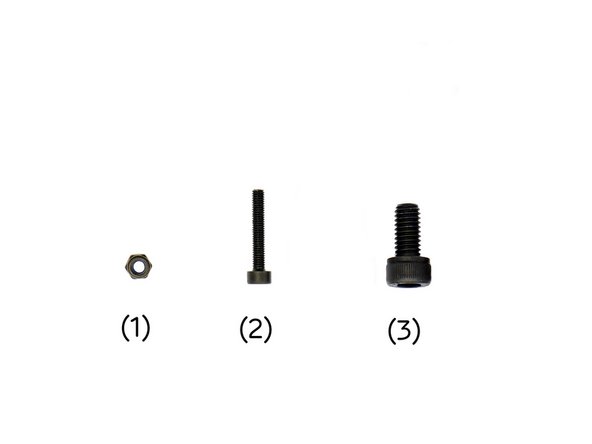
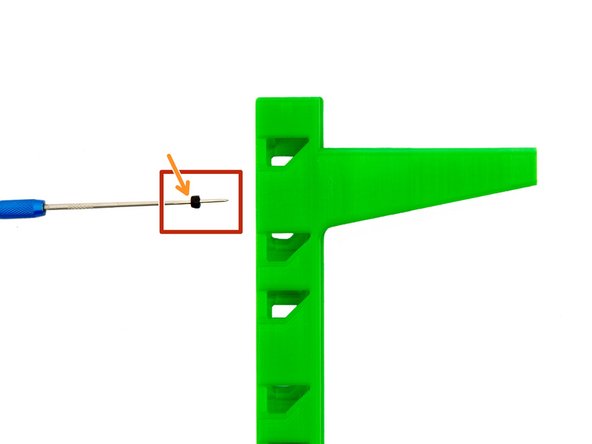
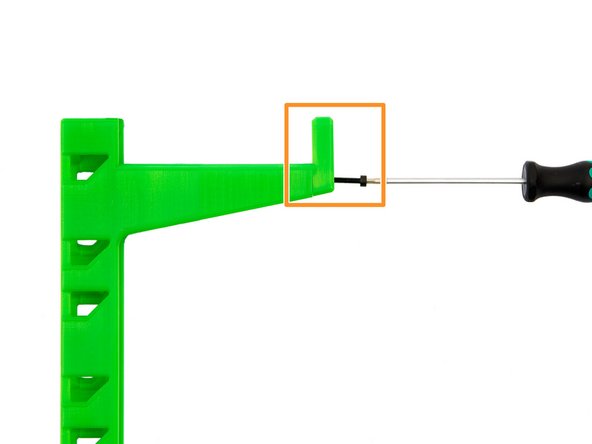
Put the M3 Self-Securing Nut onto the engineer scriber.
-
Pay attention to the direction: the blue safety ring must be on the opposite side of the scriber's tip.
-
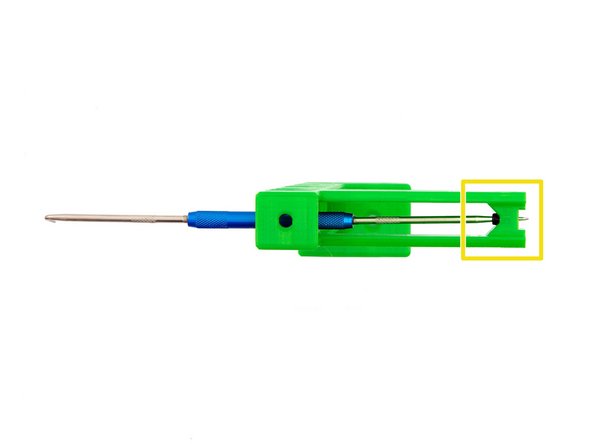
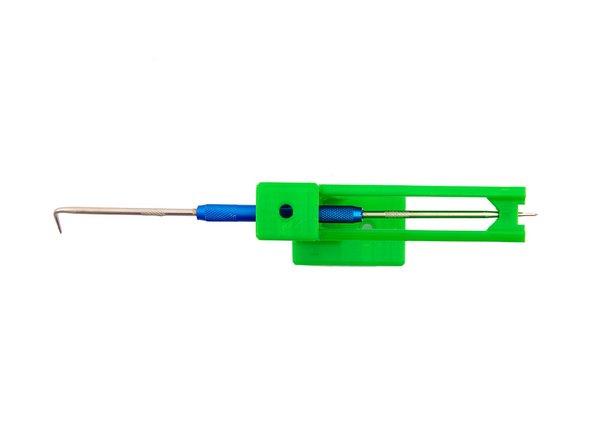
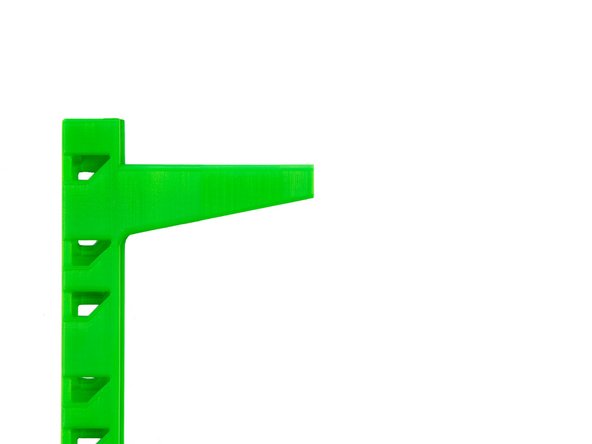
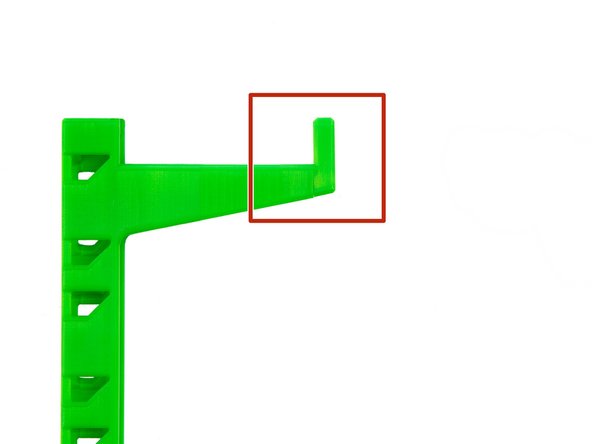
Pass the scriber through the spoolholder and insert the self-securing nut into the hole designated for this purpose.
-
-
-
Put the cap on the spoolholder.
-
Fasten the cap with a M3x18mm Hexagon Socket Head Cap Screw.
-
-
-
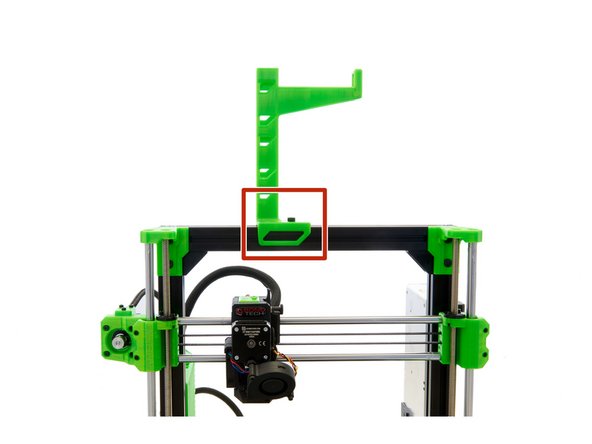
Align the T-Nut on the upper x-axis approximately in the center of the axis.
-
Place the assembled spoolholder on the upper x-axis and align the T-Nut so that the T-Nut sits underneath the hole in the spool holder.
-
Fasten the spoolholder with a M6x12mm Hexagon Socket Head Cap Screw.
-
-
-
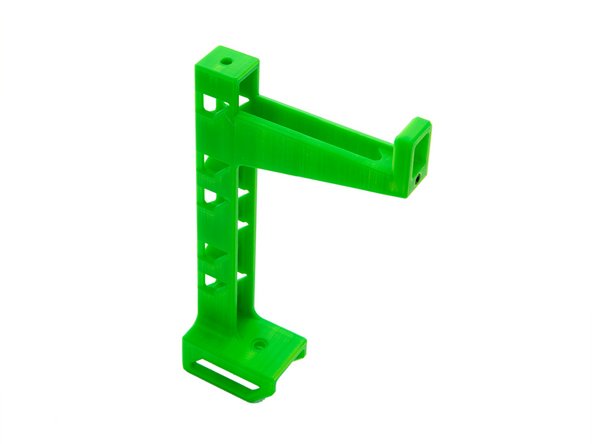
The installation of the spoolholder is completed now.
-
Continue with instructions 19. Setup und Calibration.
-